使用源代码部署记录,之前搞不明白,踩了很多坑,记录一下。
PS:我习惯使用宝塔,所以装了个宝塔面板
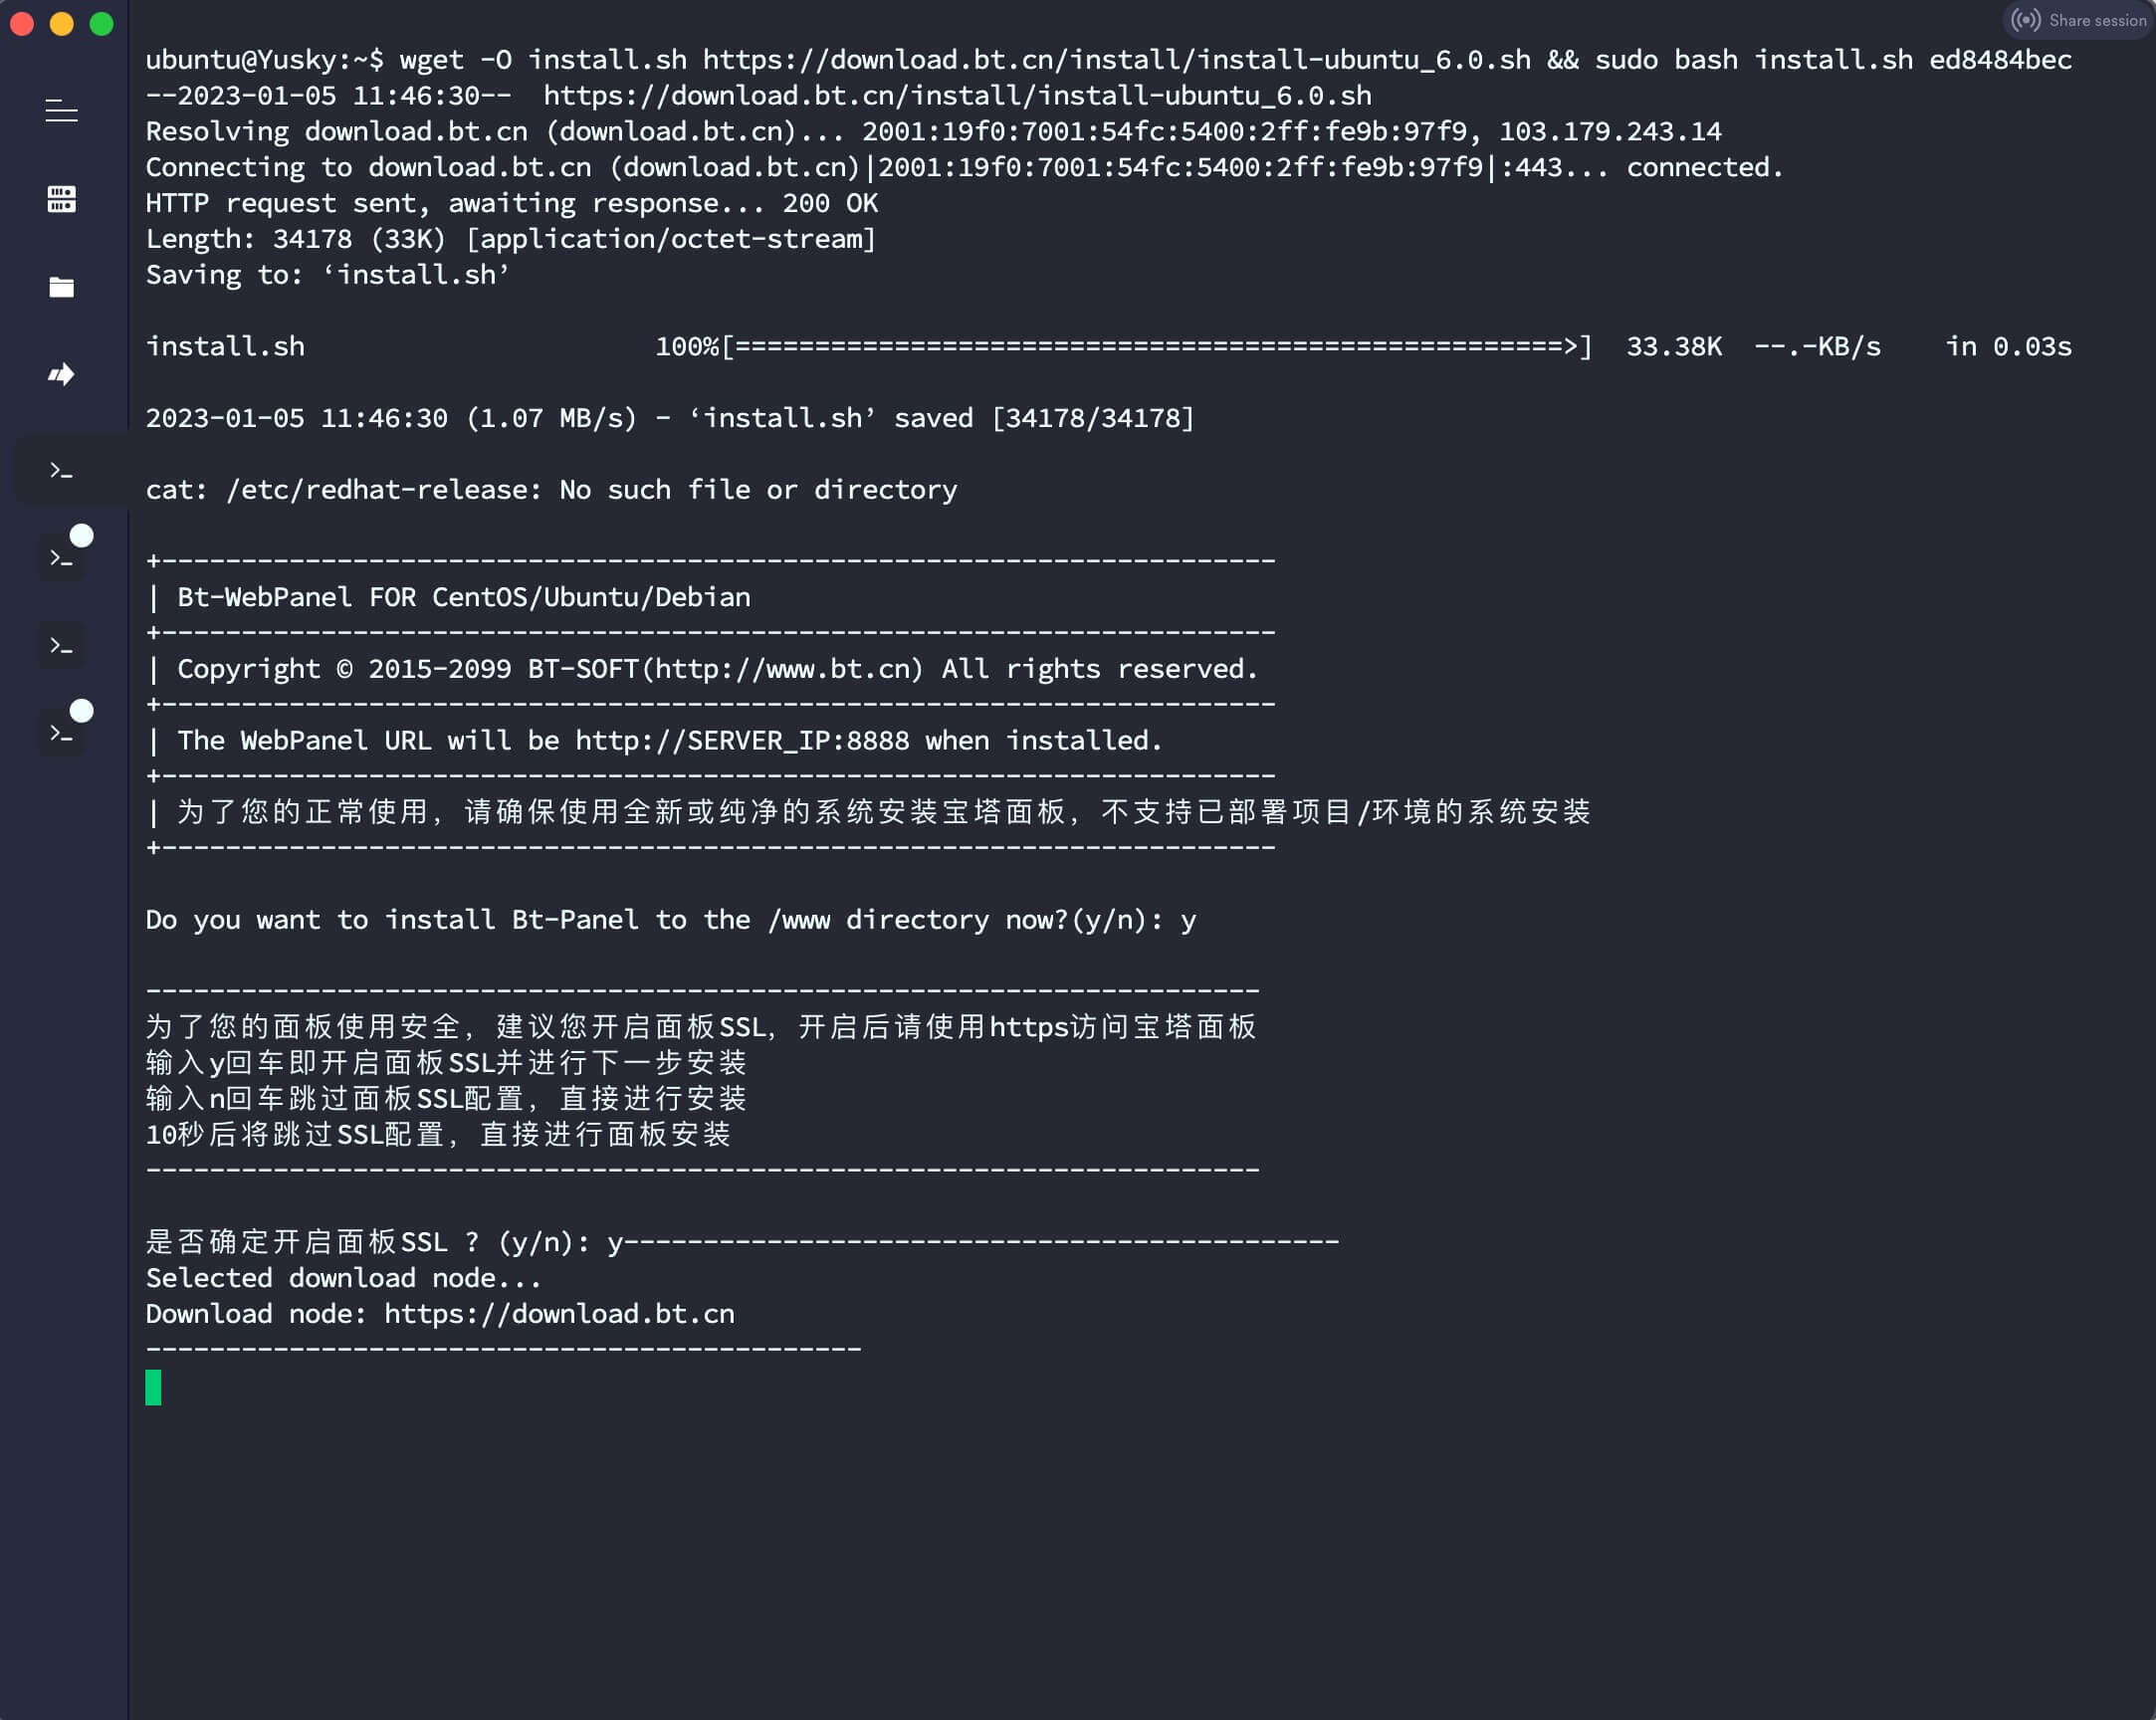
1,安装宝塔面板,这个不用多说。(注意,我用的是ubuntu的,使用其他系统的请到官网查看脚本)
wget -O install.sh https://download.bt.cn/install/install-ubuntu_6.0.sh && sudo bash install.sh ed8484bec
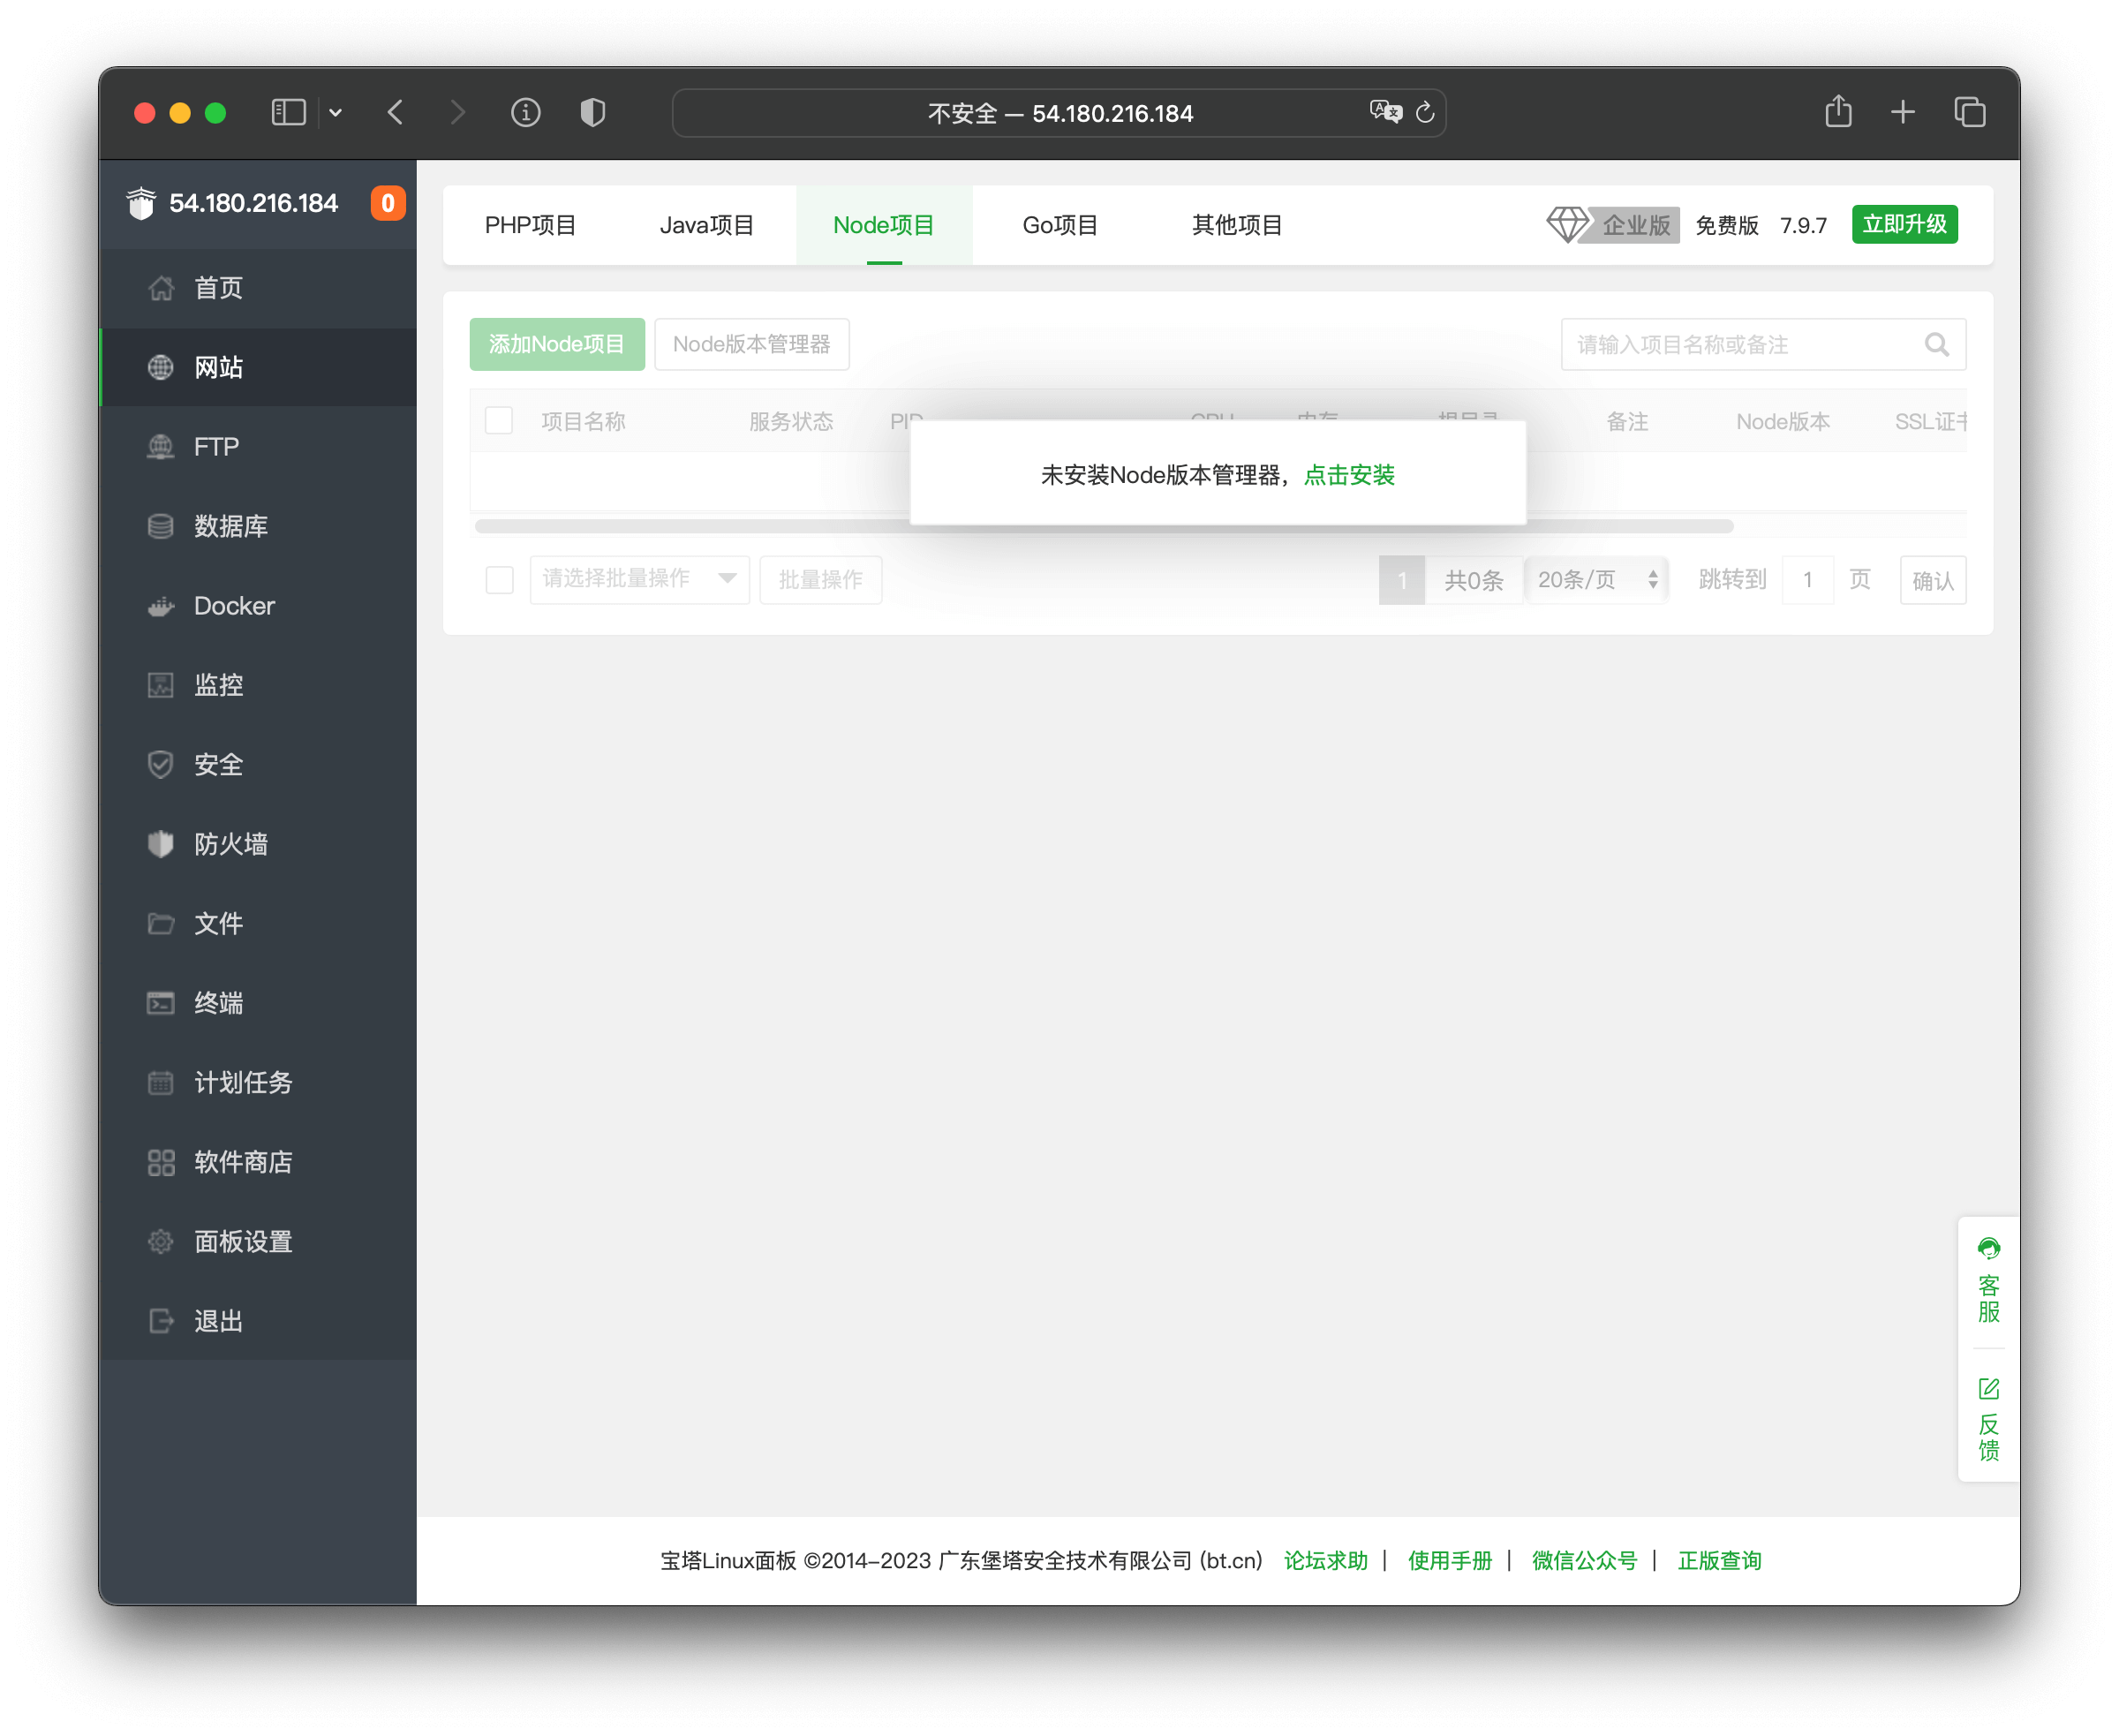
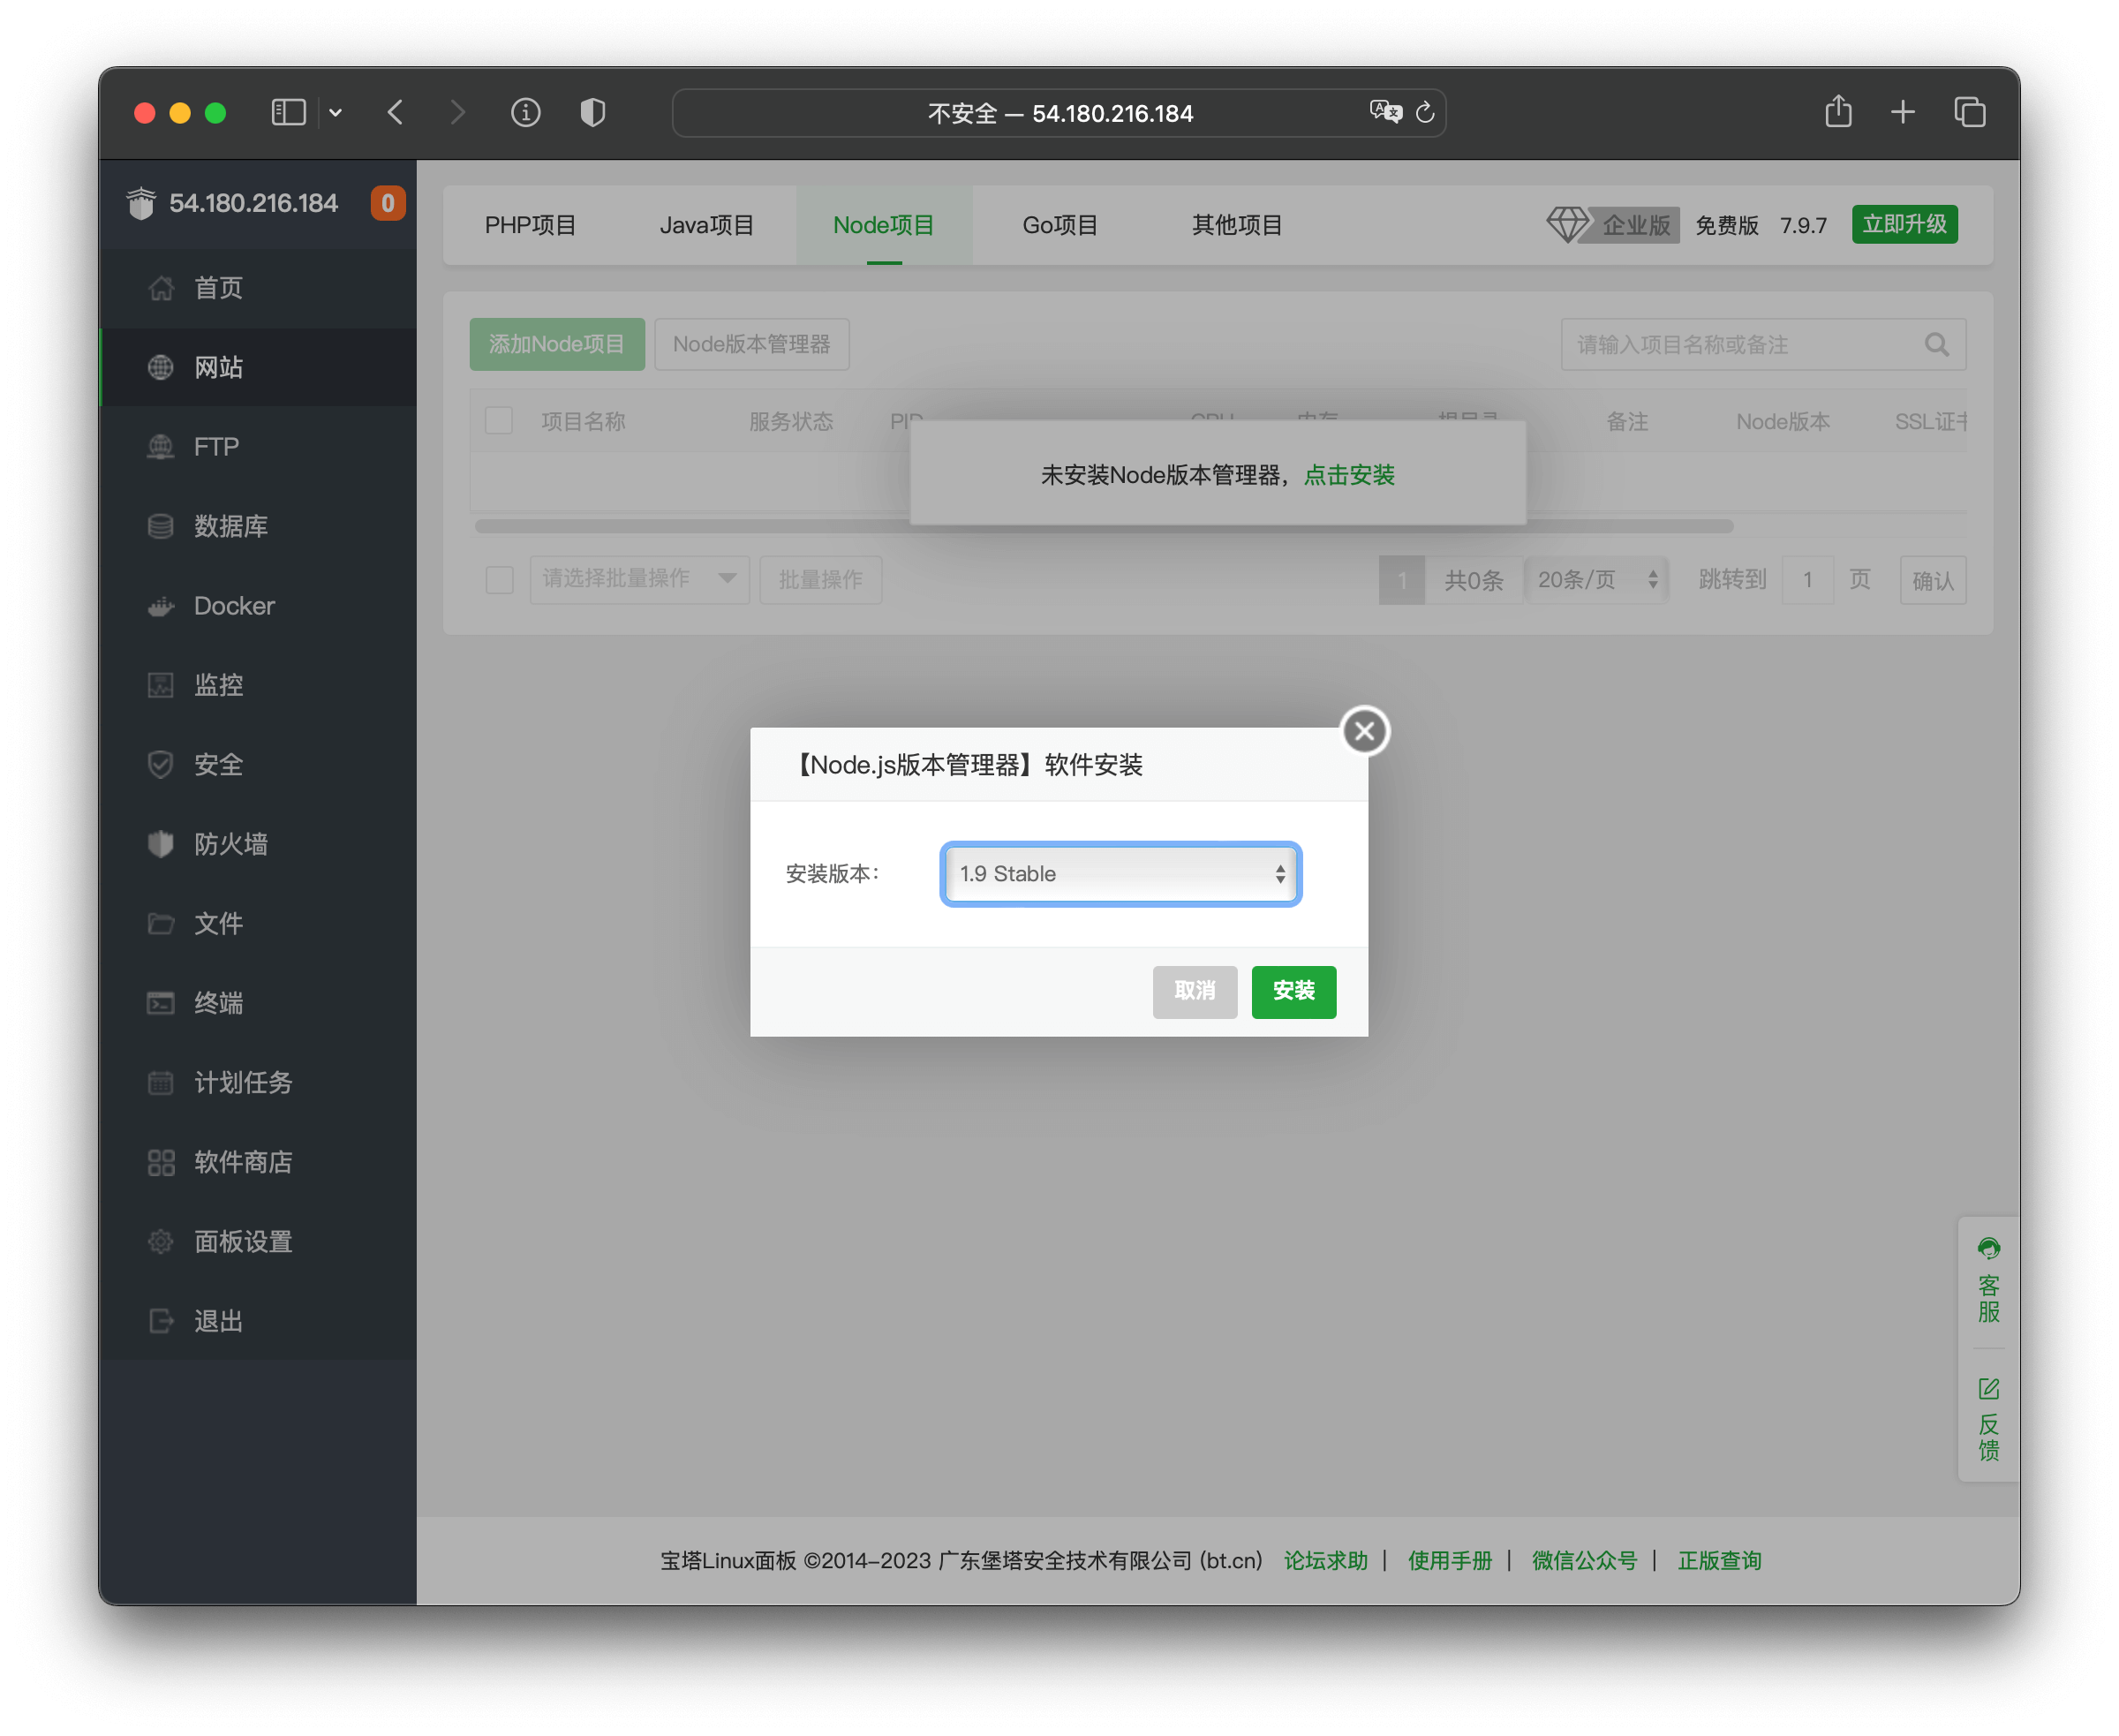
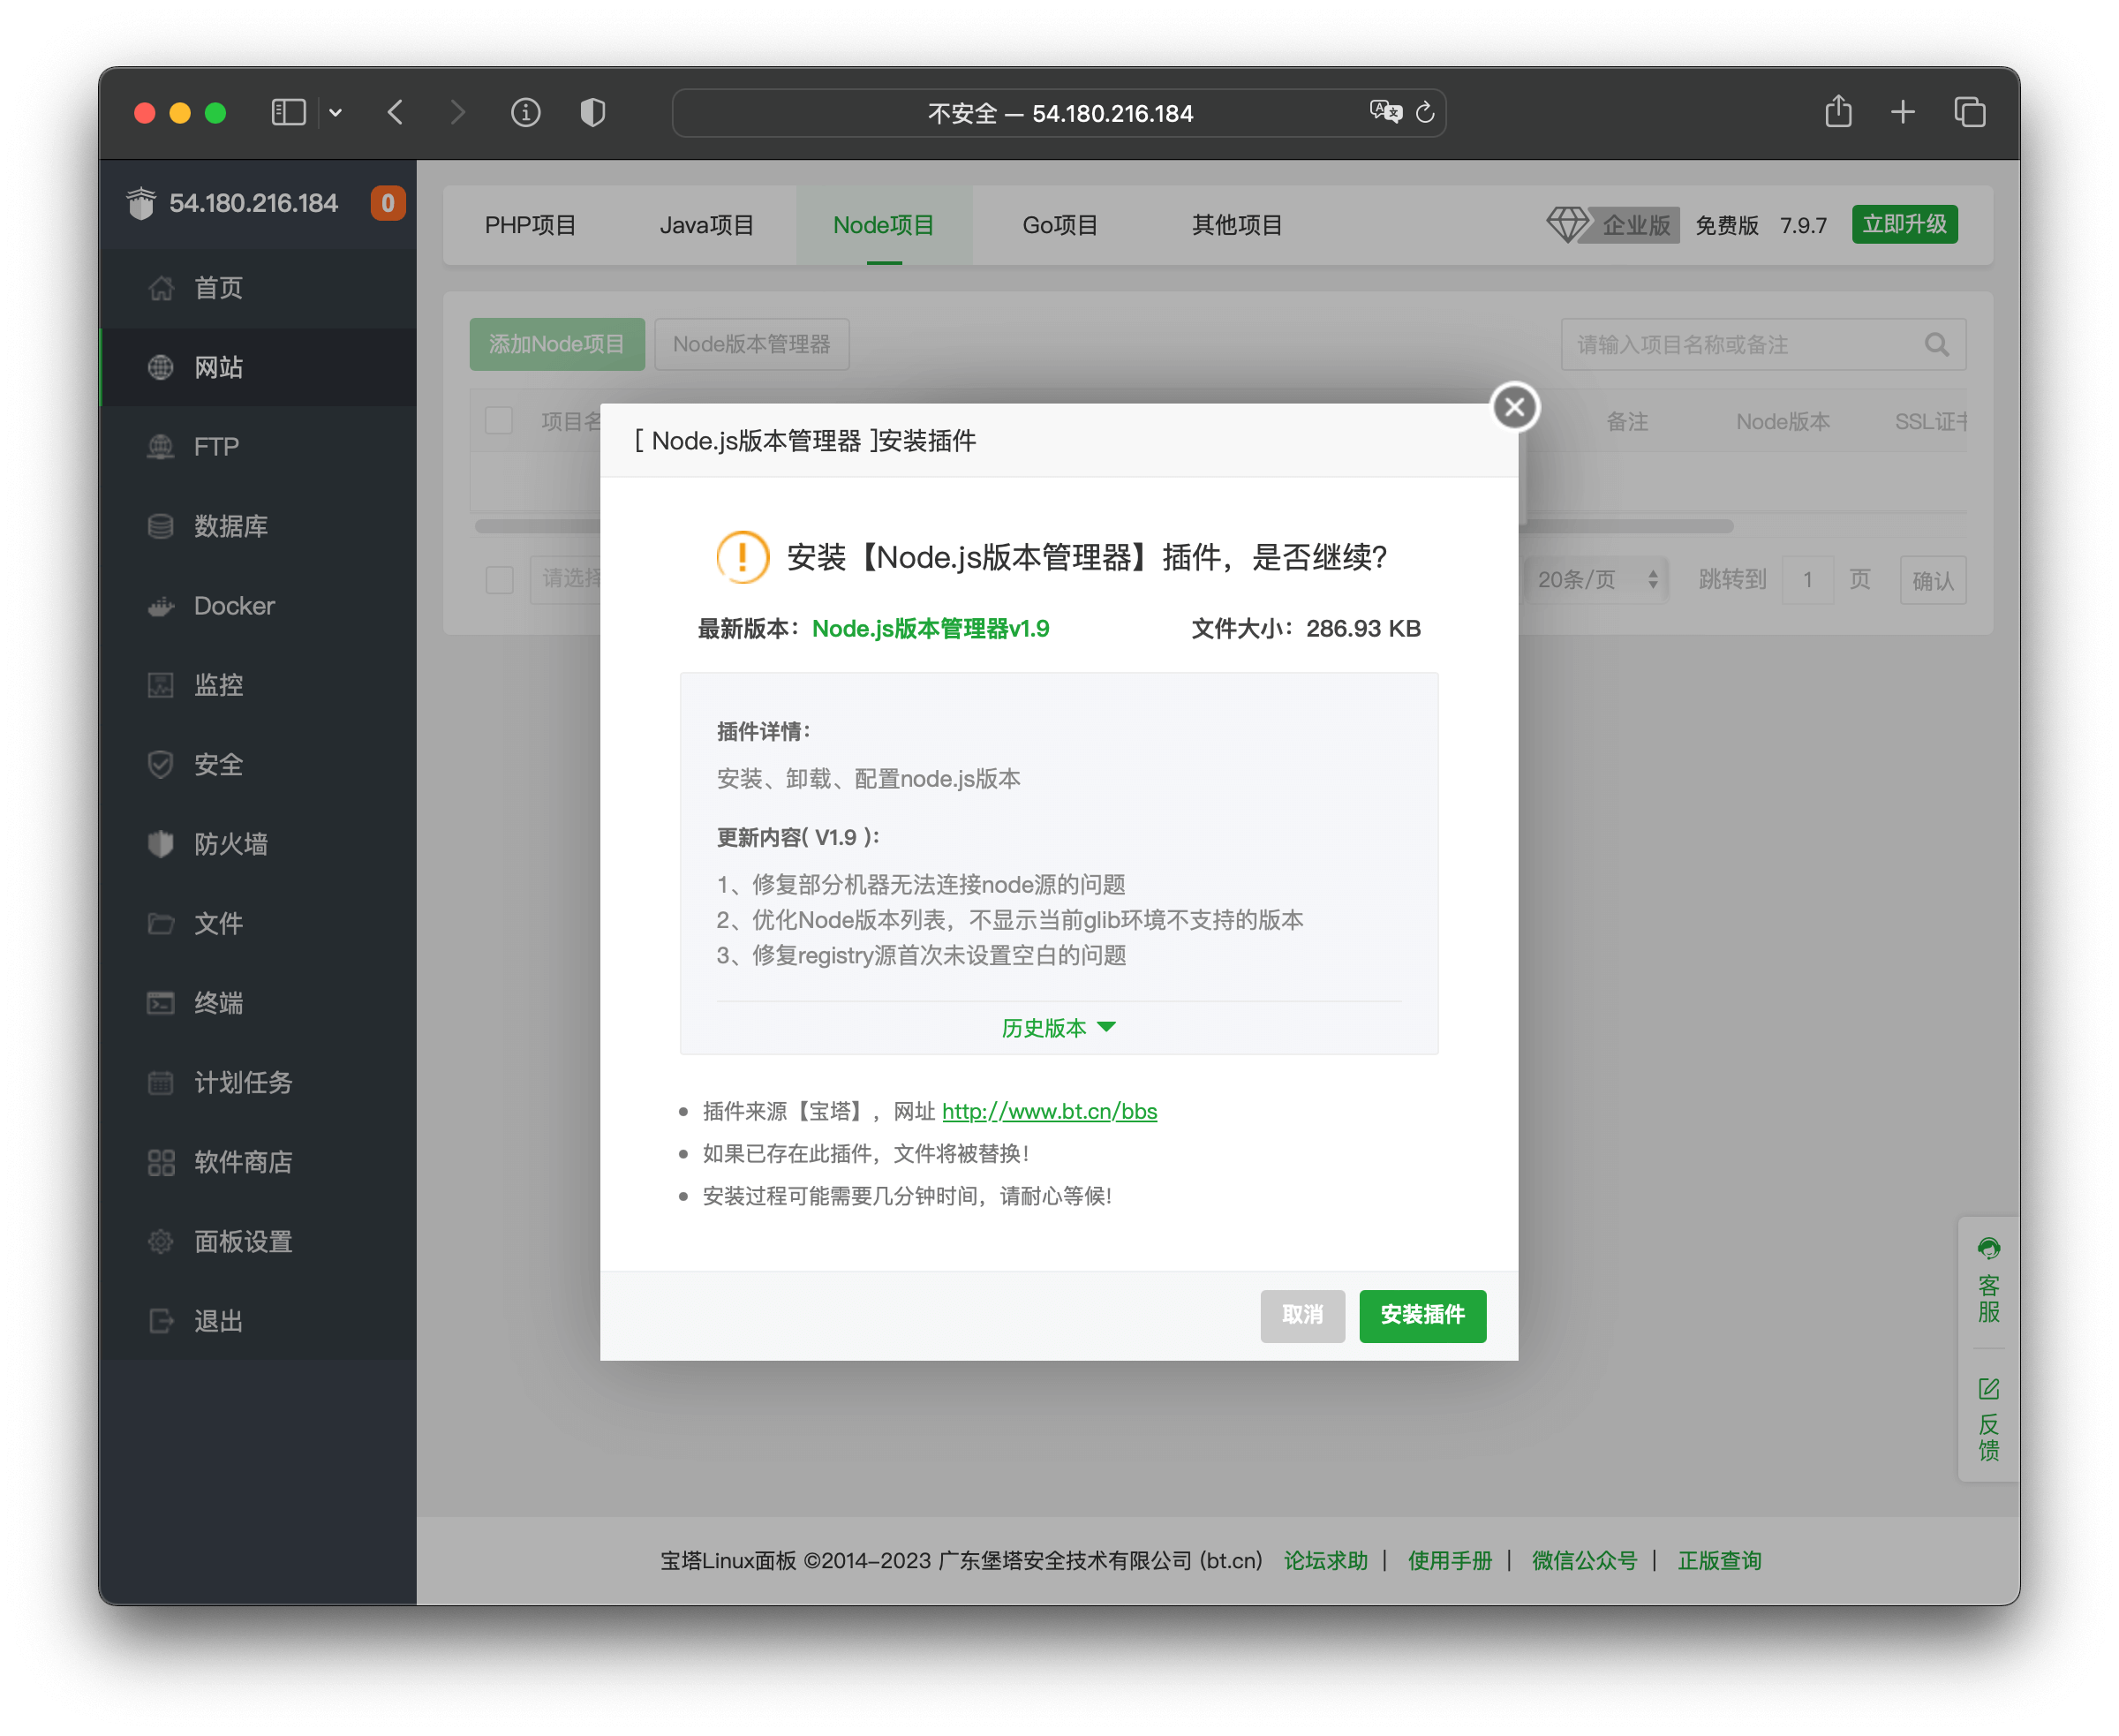
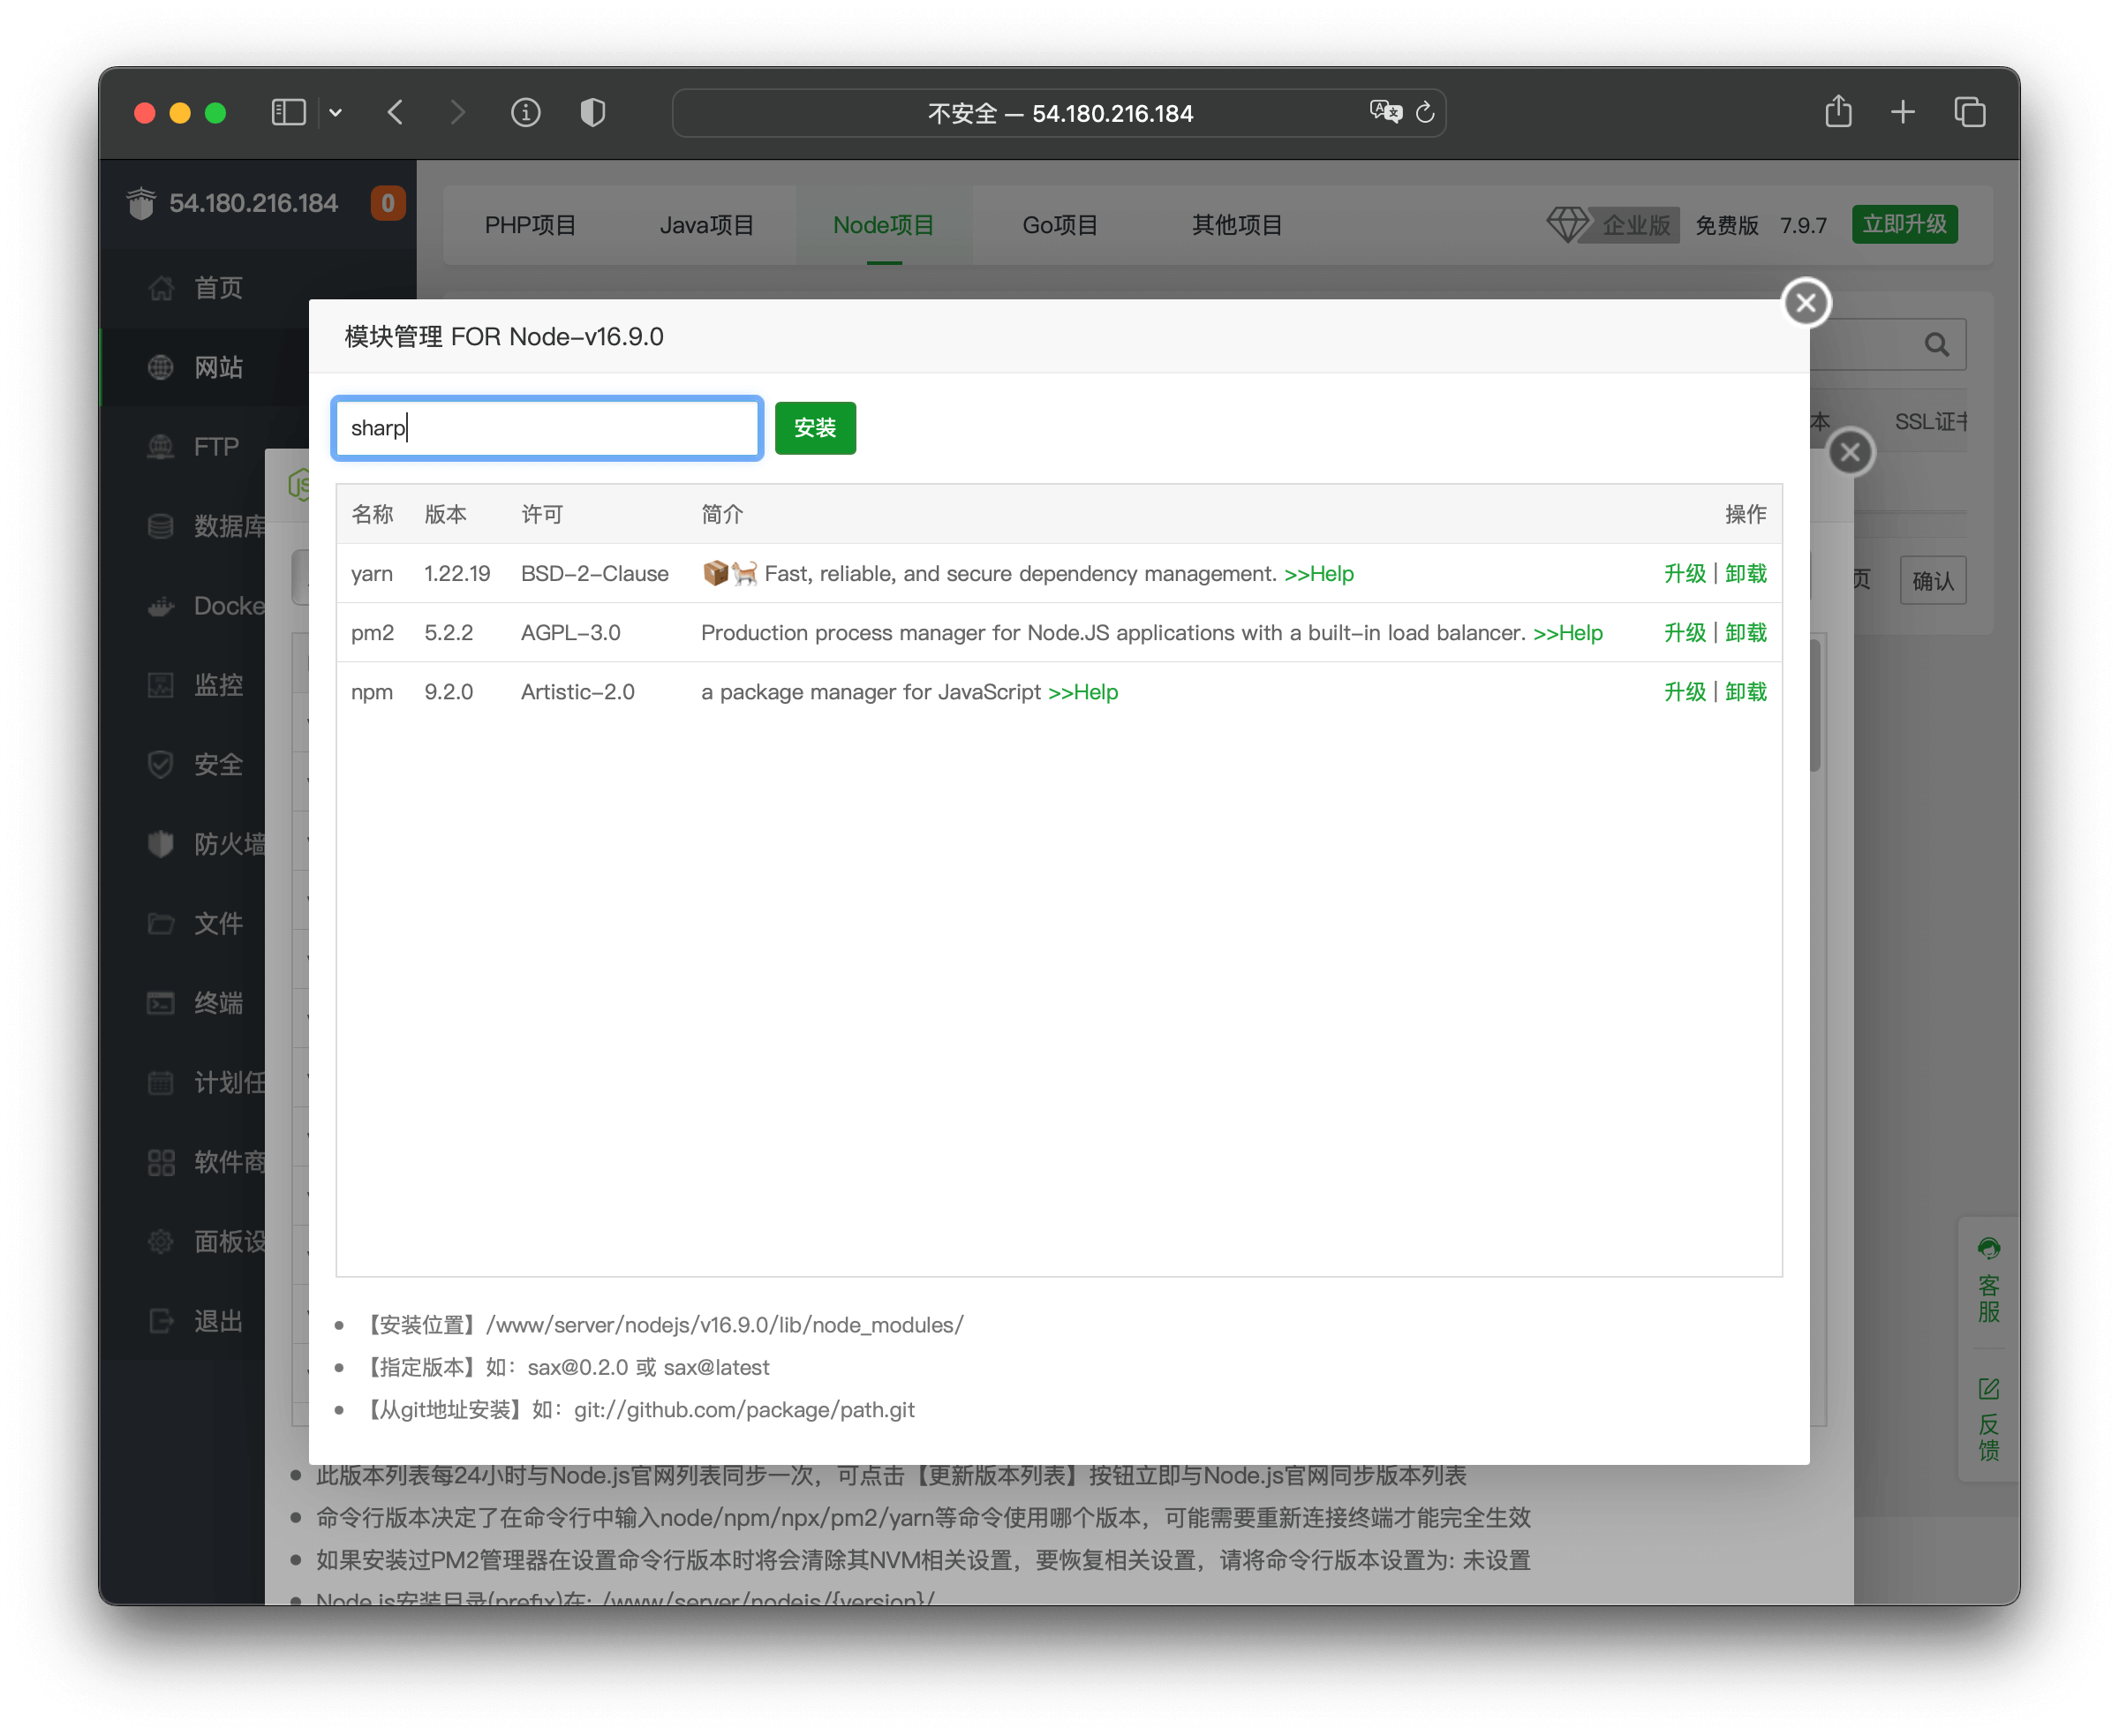
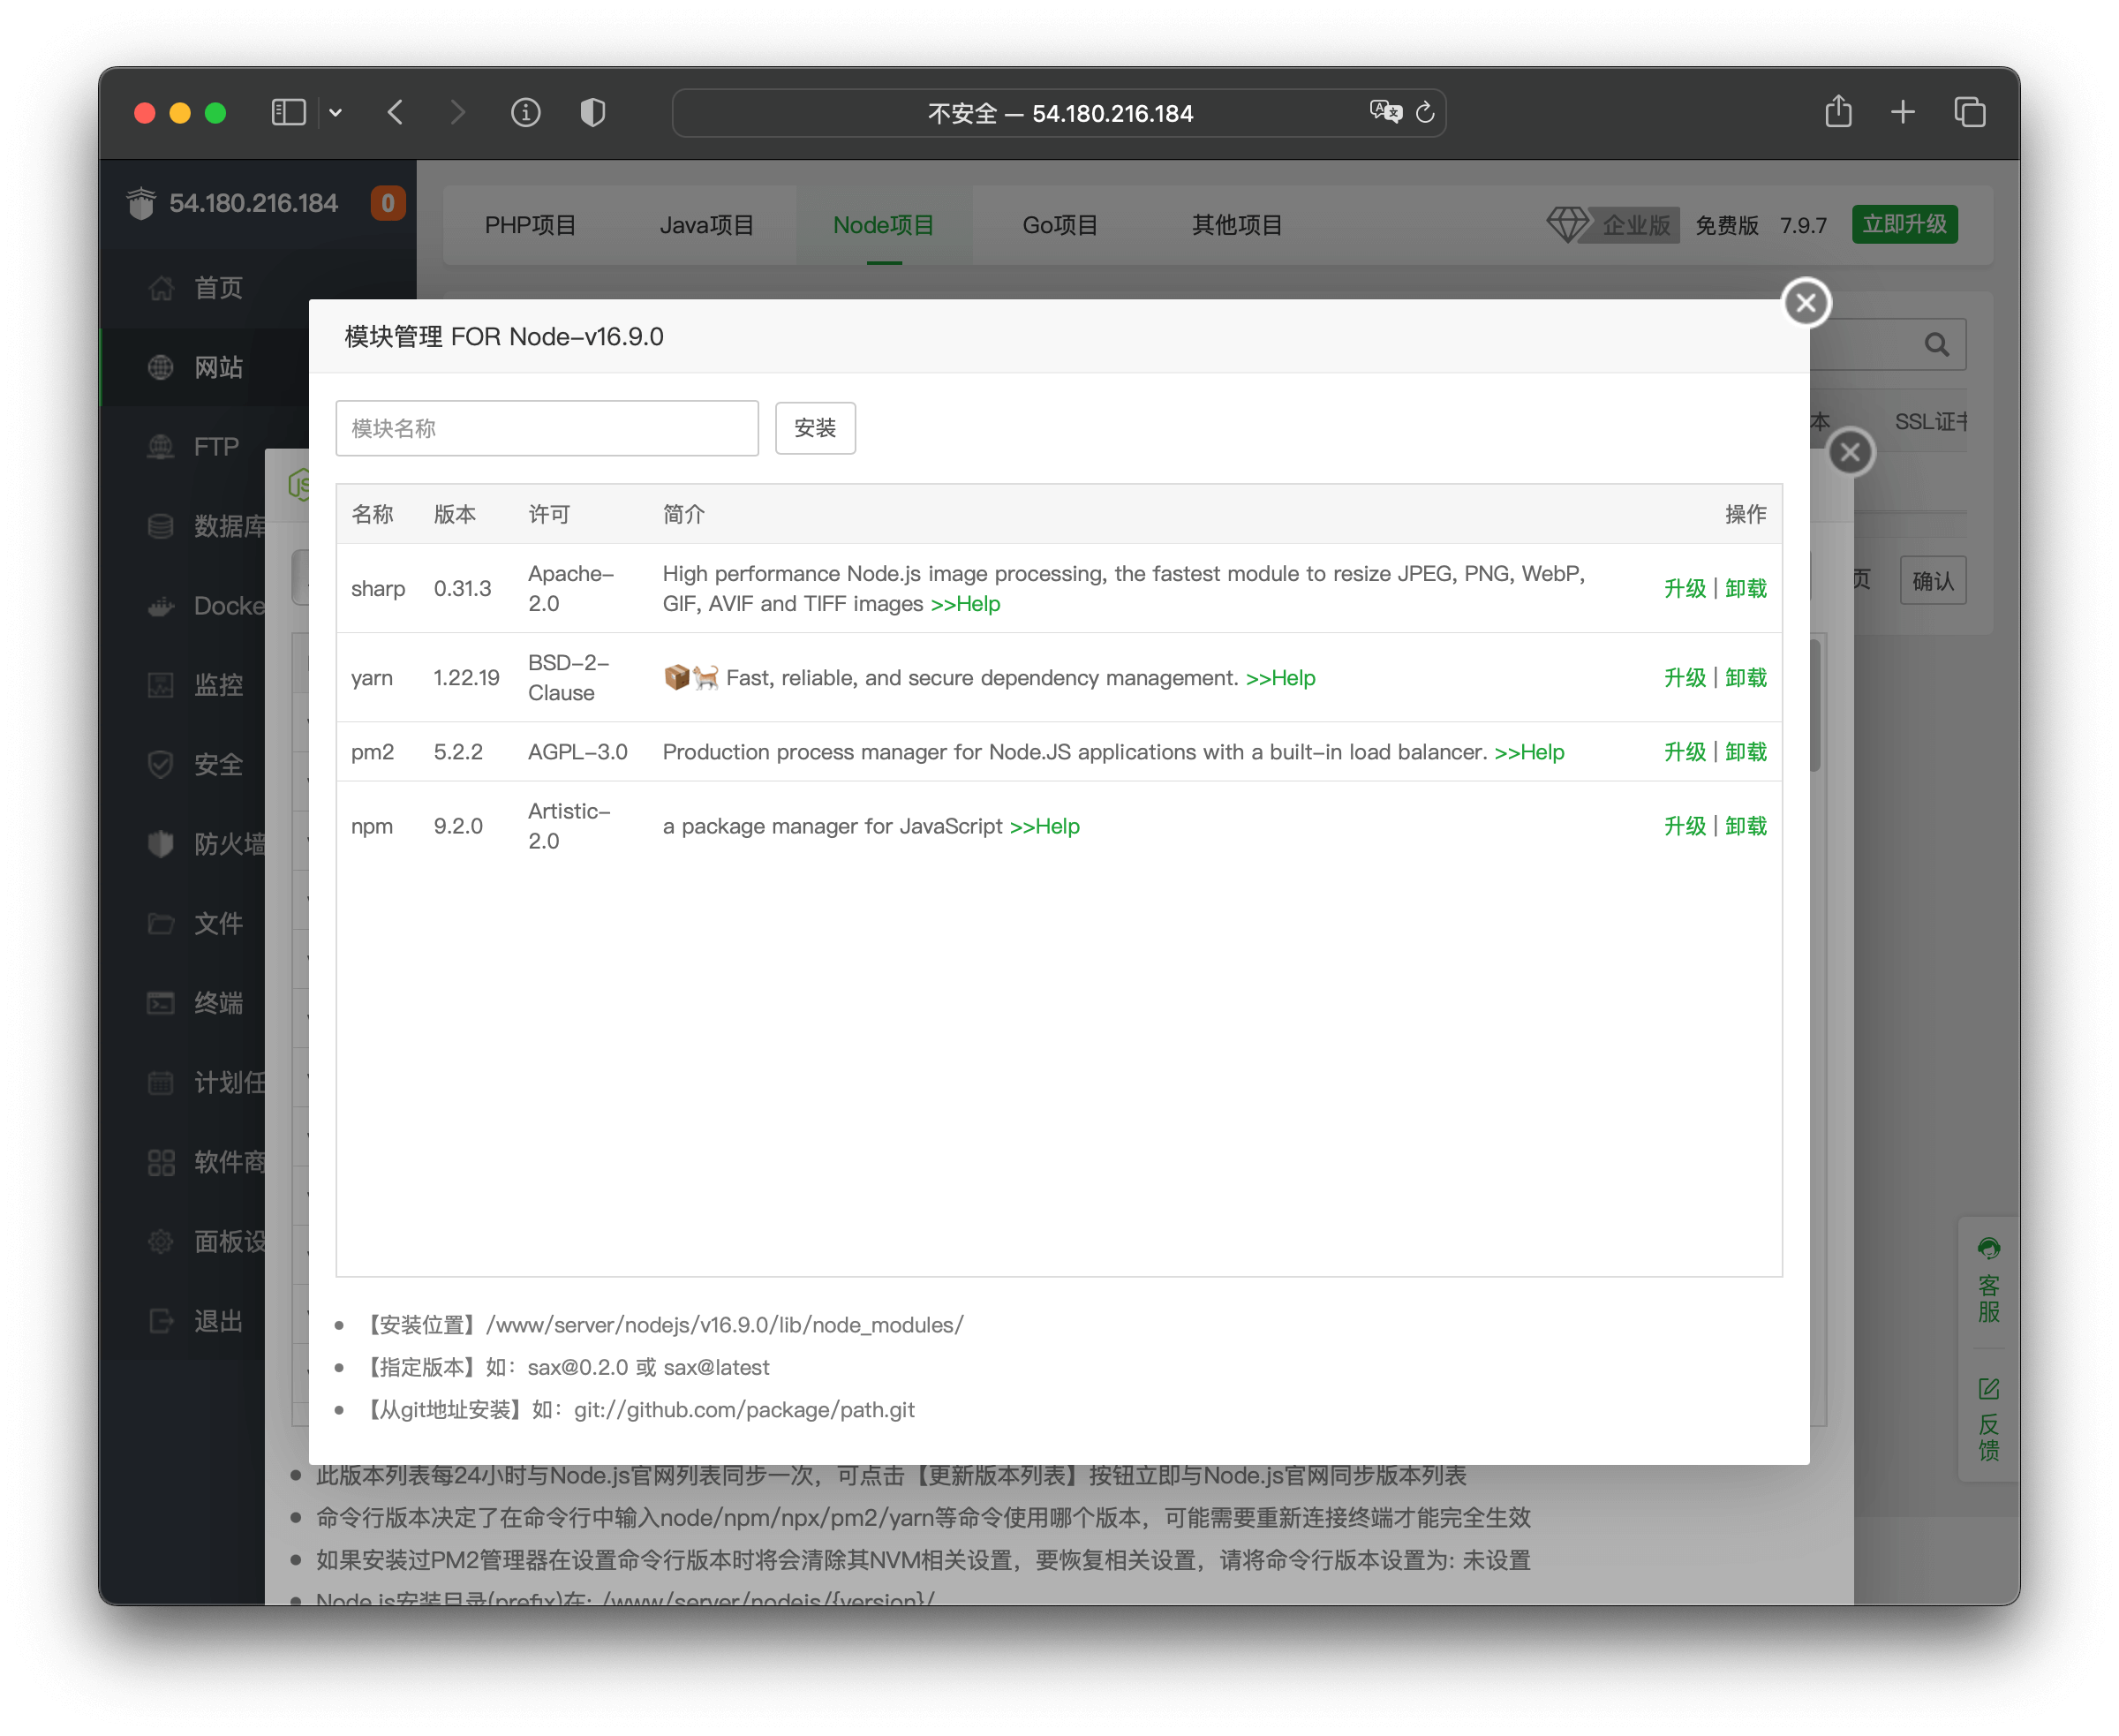
2,登录宝塔,安装Nginx,安装完成后继续安装一个Node.js版本管理器{看个人喜好。我喜欢直接在面板上安装,使用命令安装也是一样的},点击Node.js版本管理器,安装最新版{安装完成后会自动安装好PM2和yarn模块},模块管理里面手动安装sharp模块,一定要记得要选择一下命令行版本!!!不然无法构建
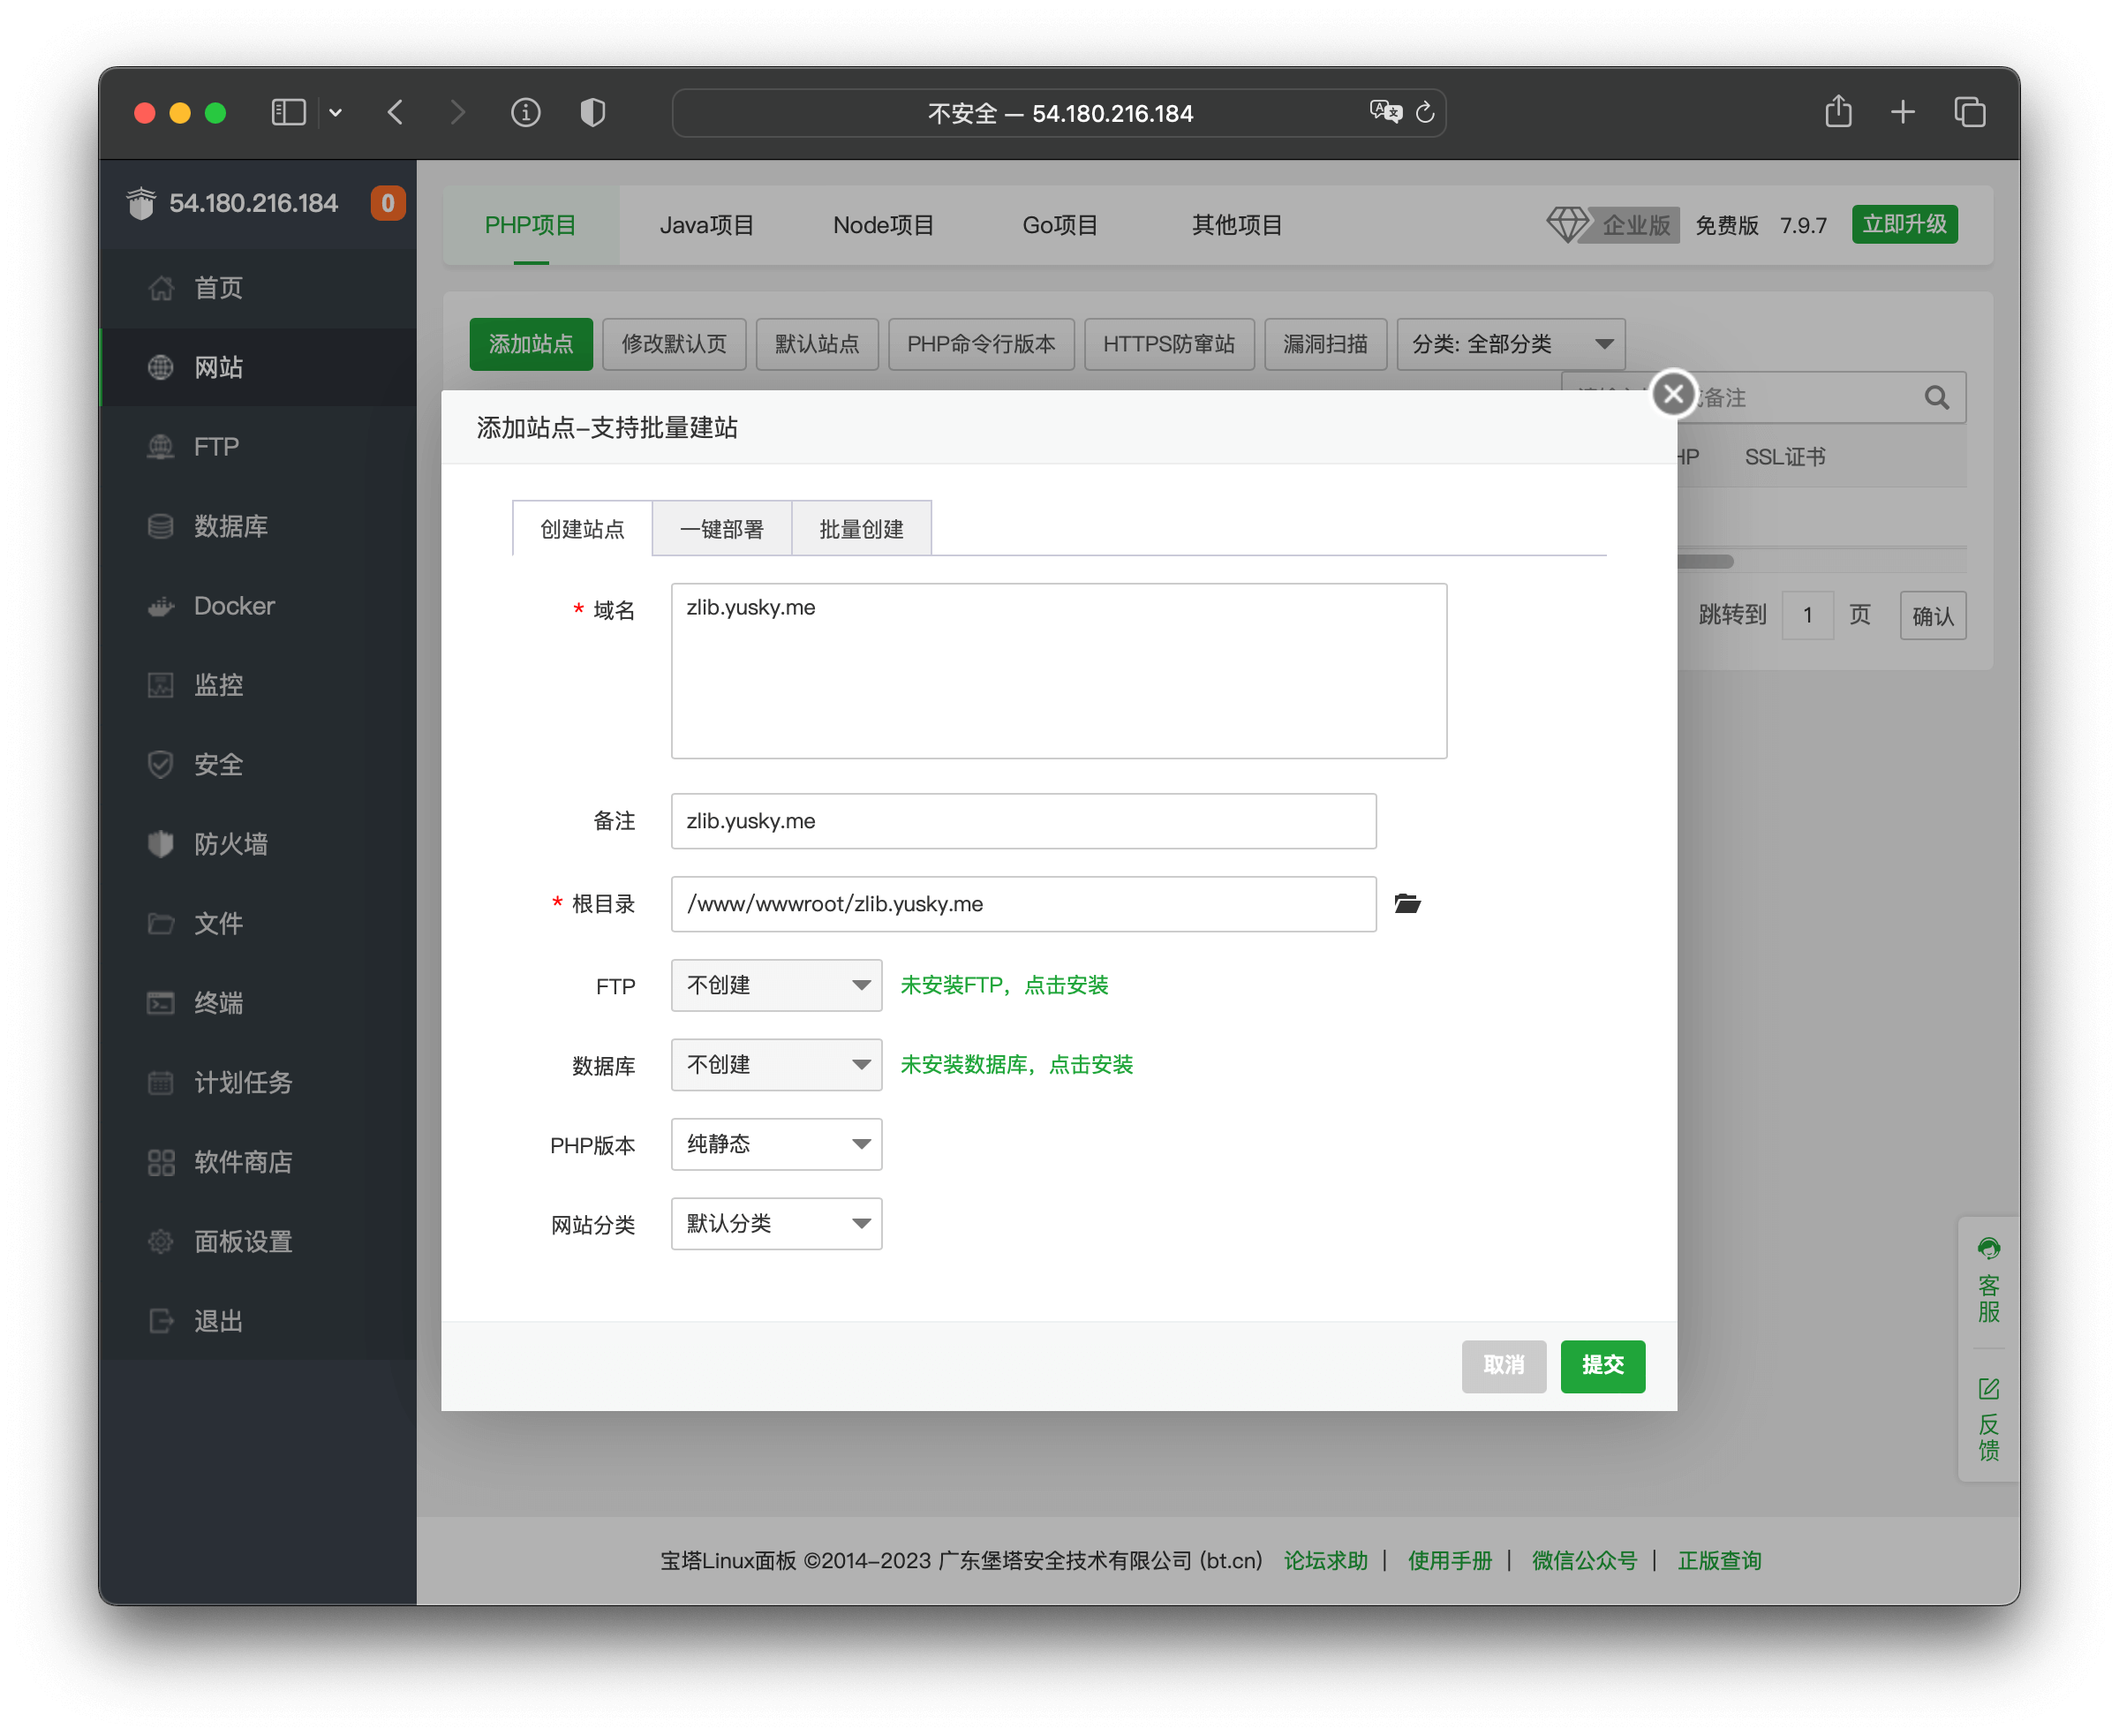
3,左侧进入网站,添加站点{为后面的反代做准备}
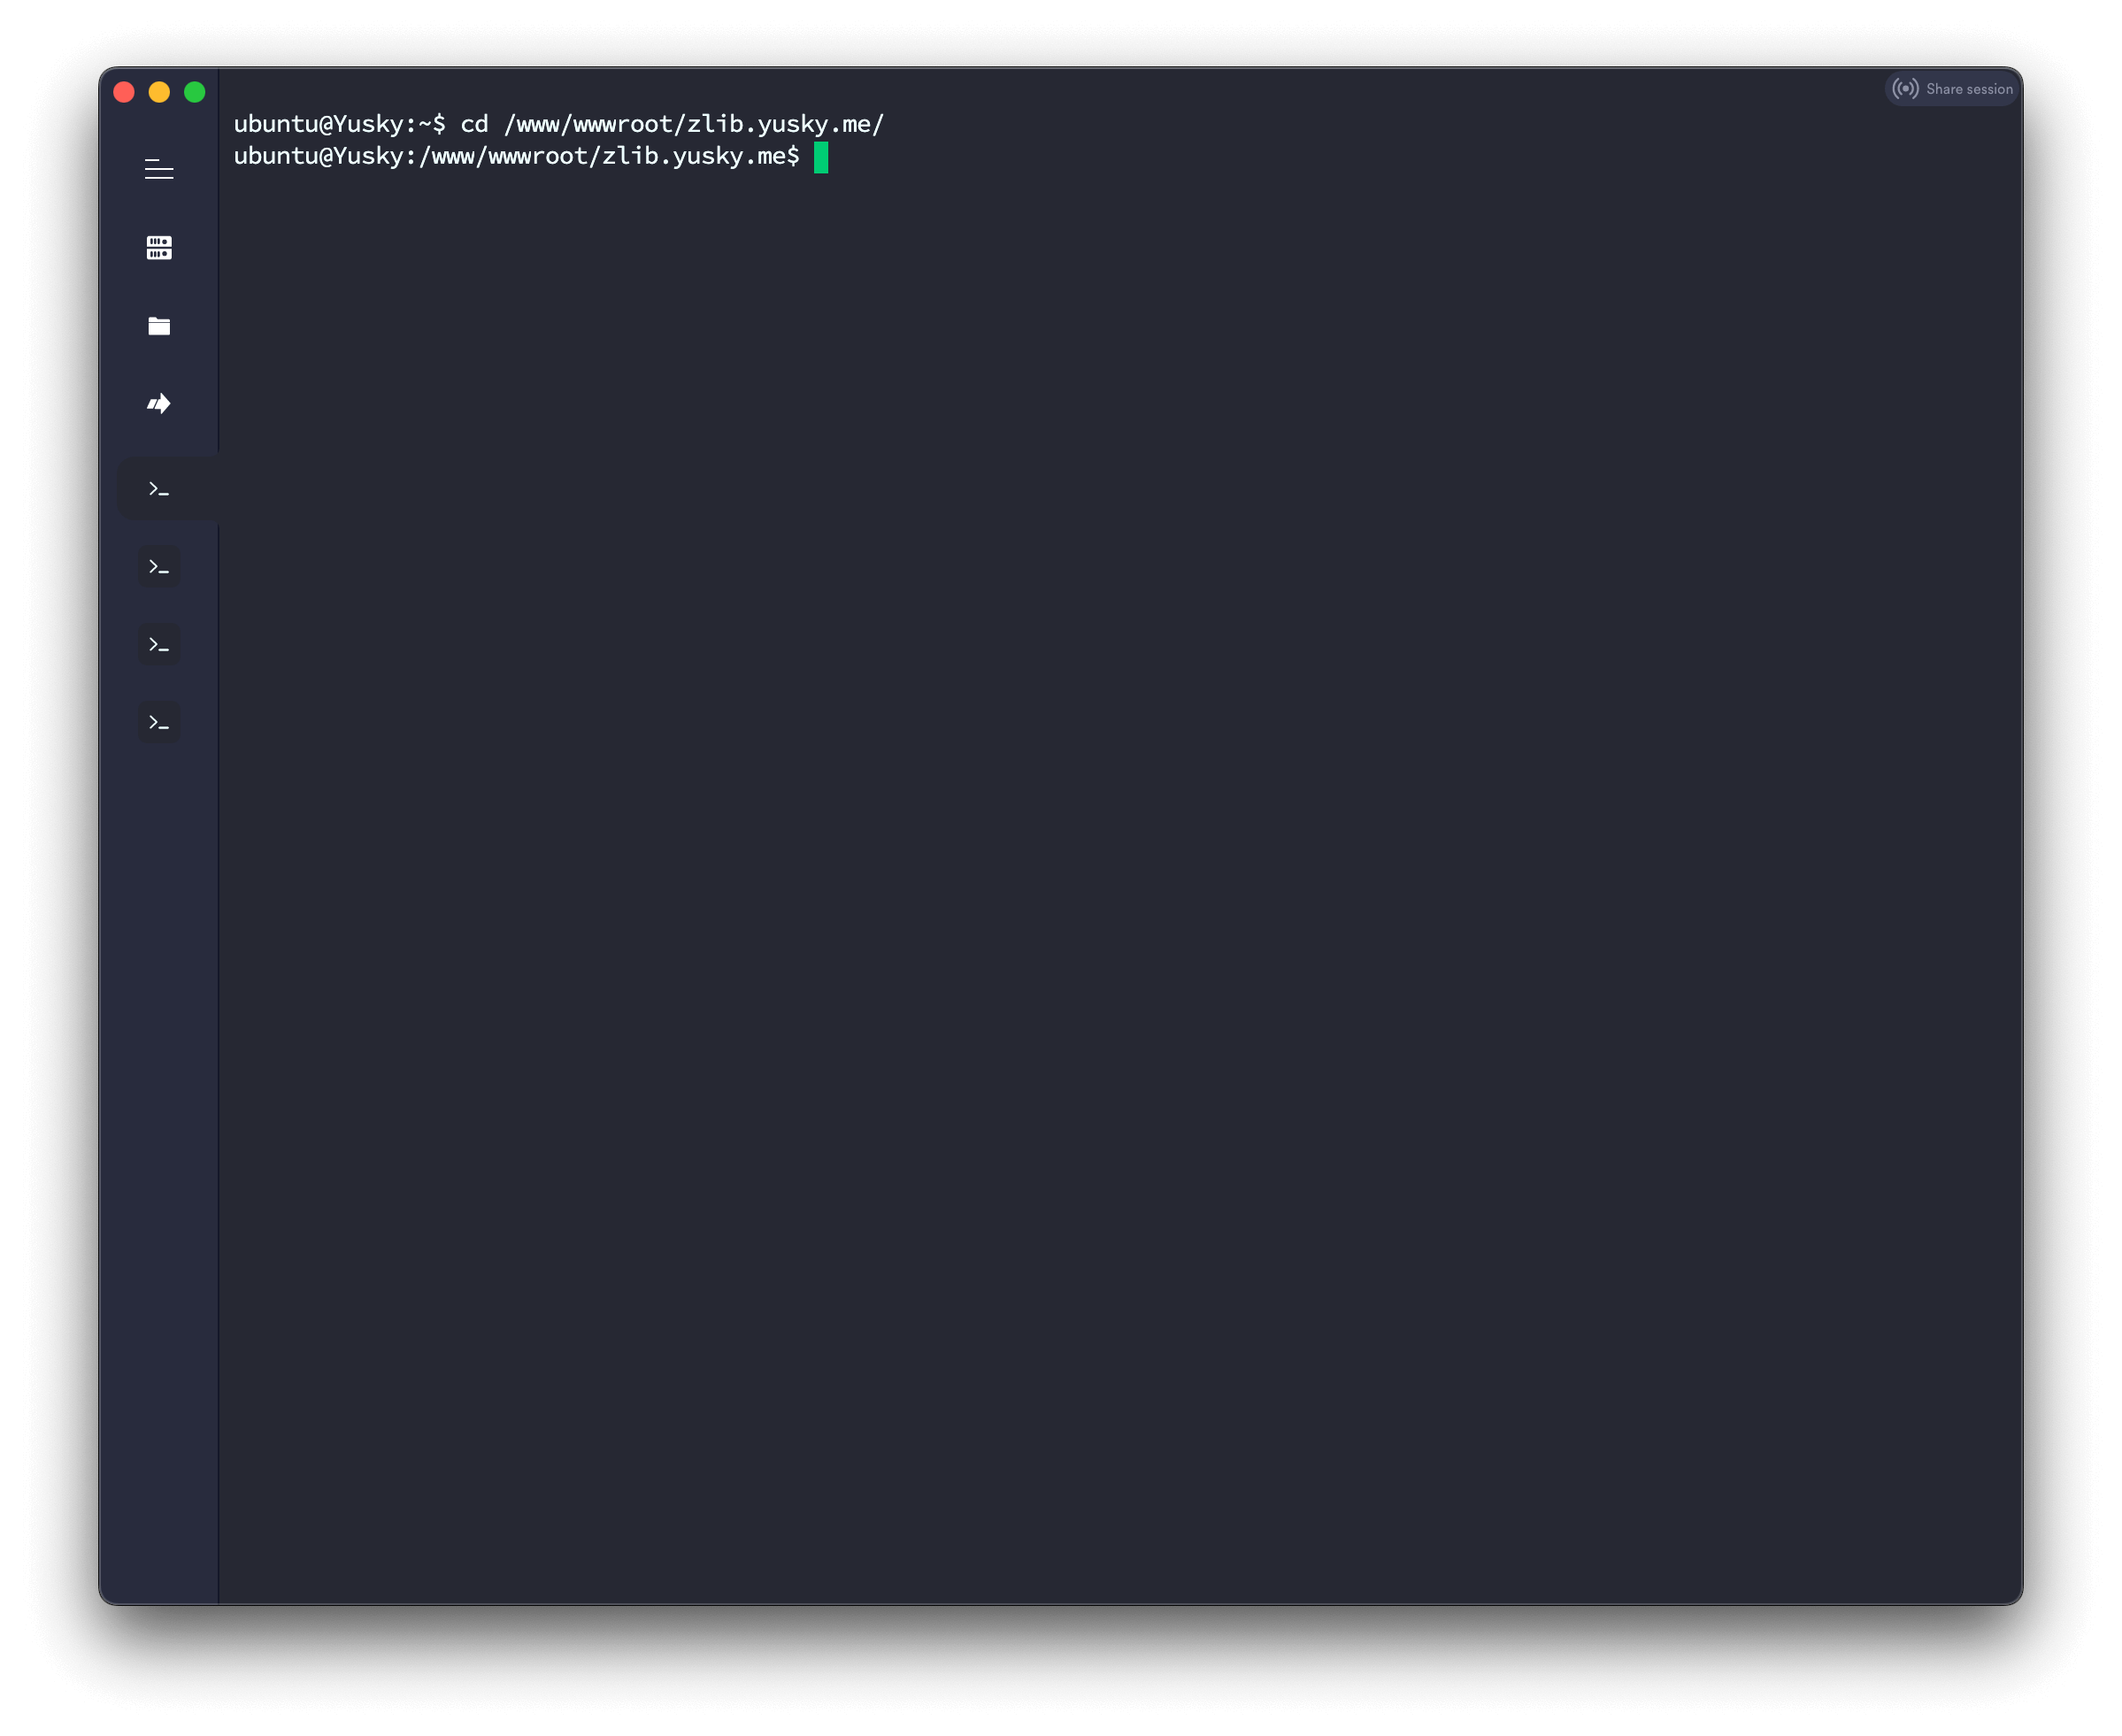
4,打开SSH,进入网站所在目录
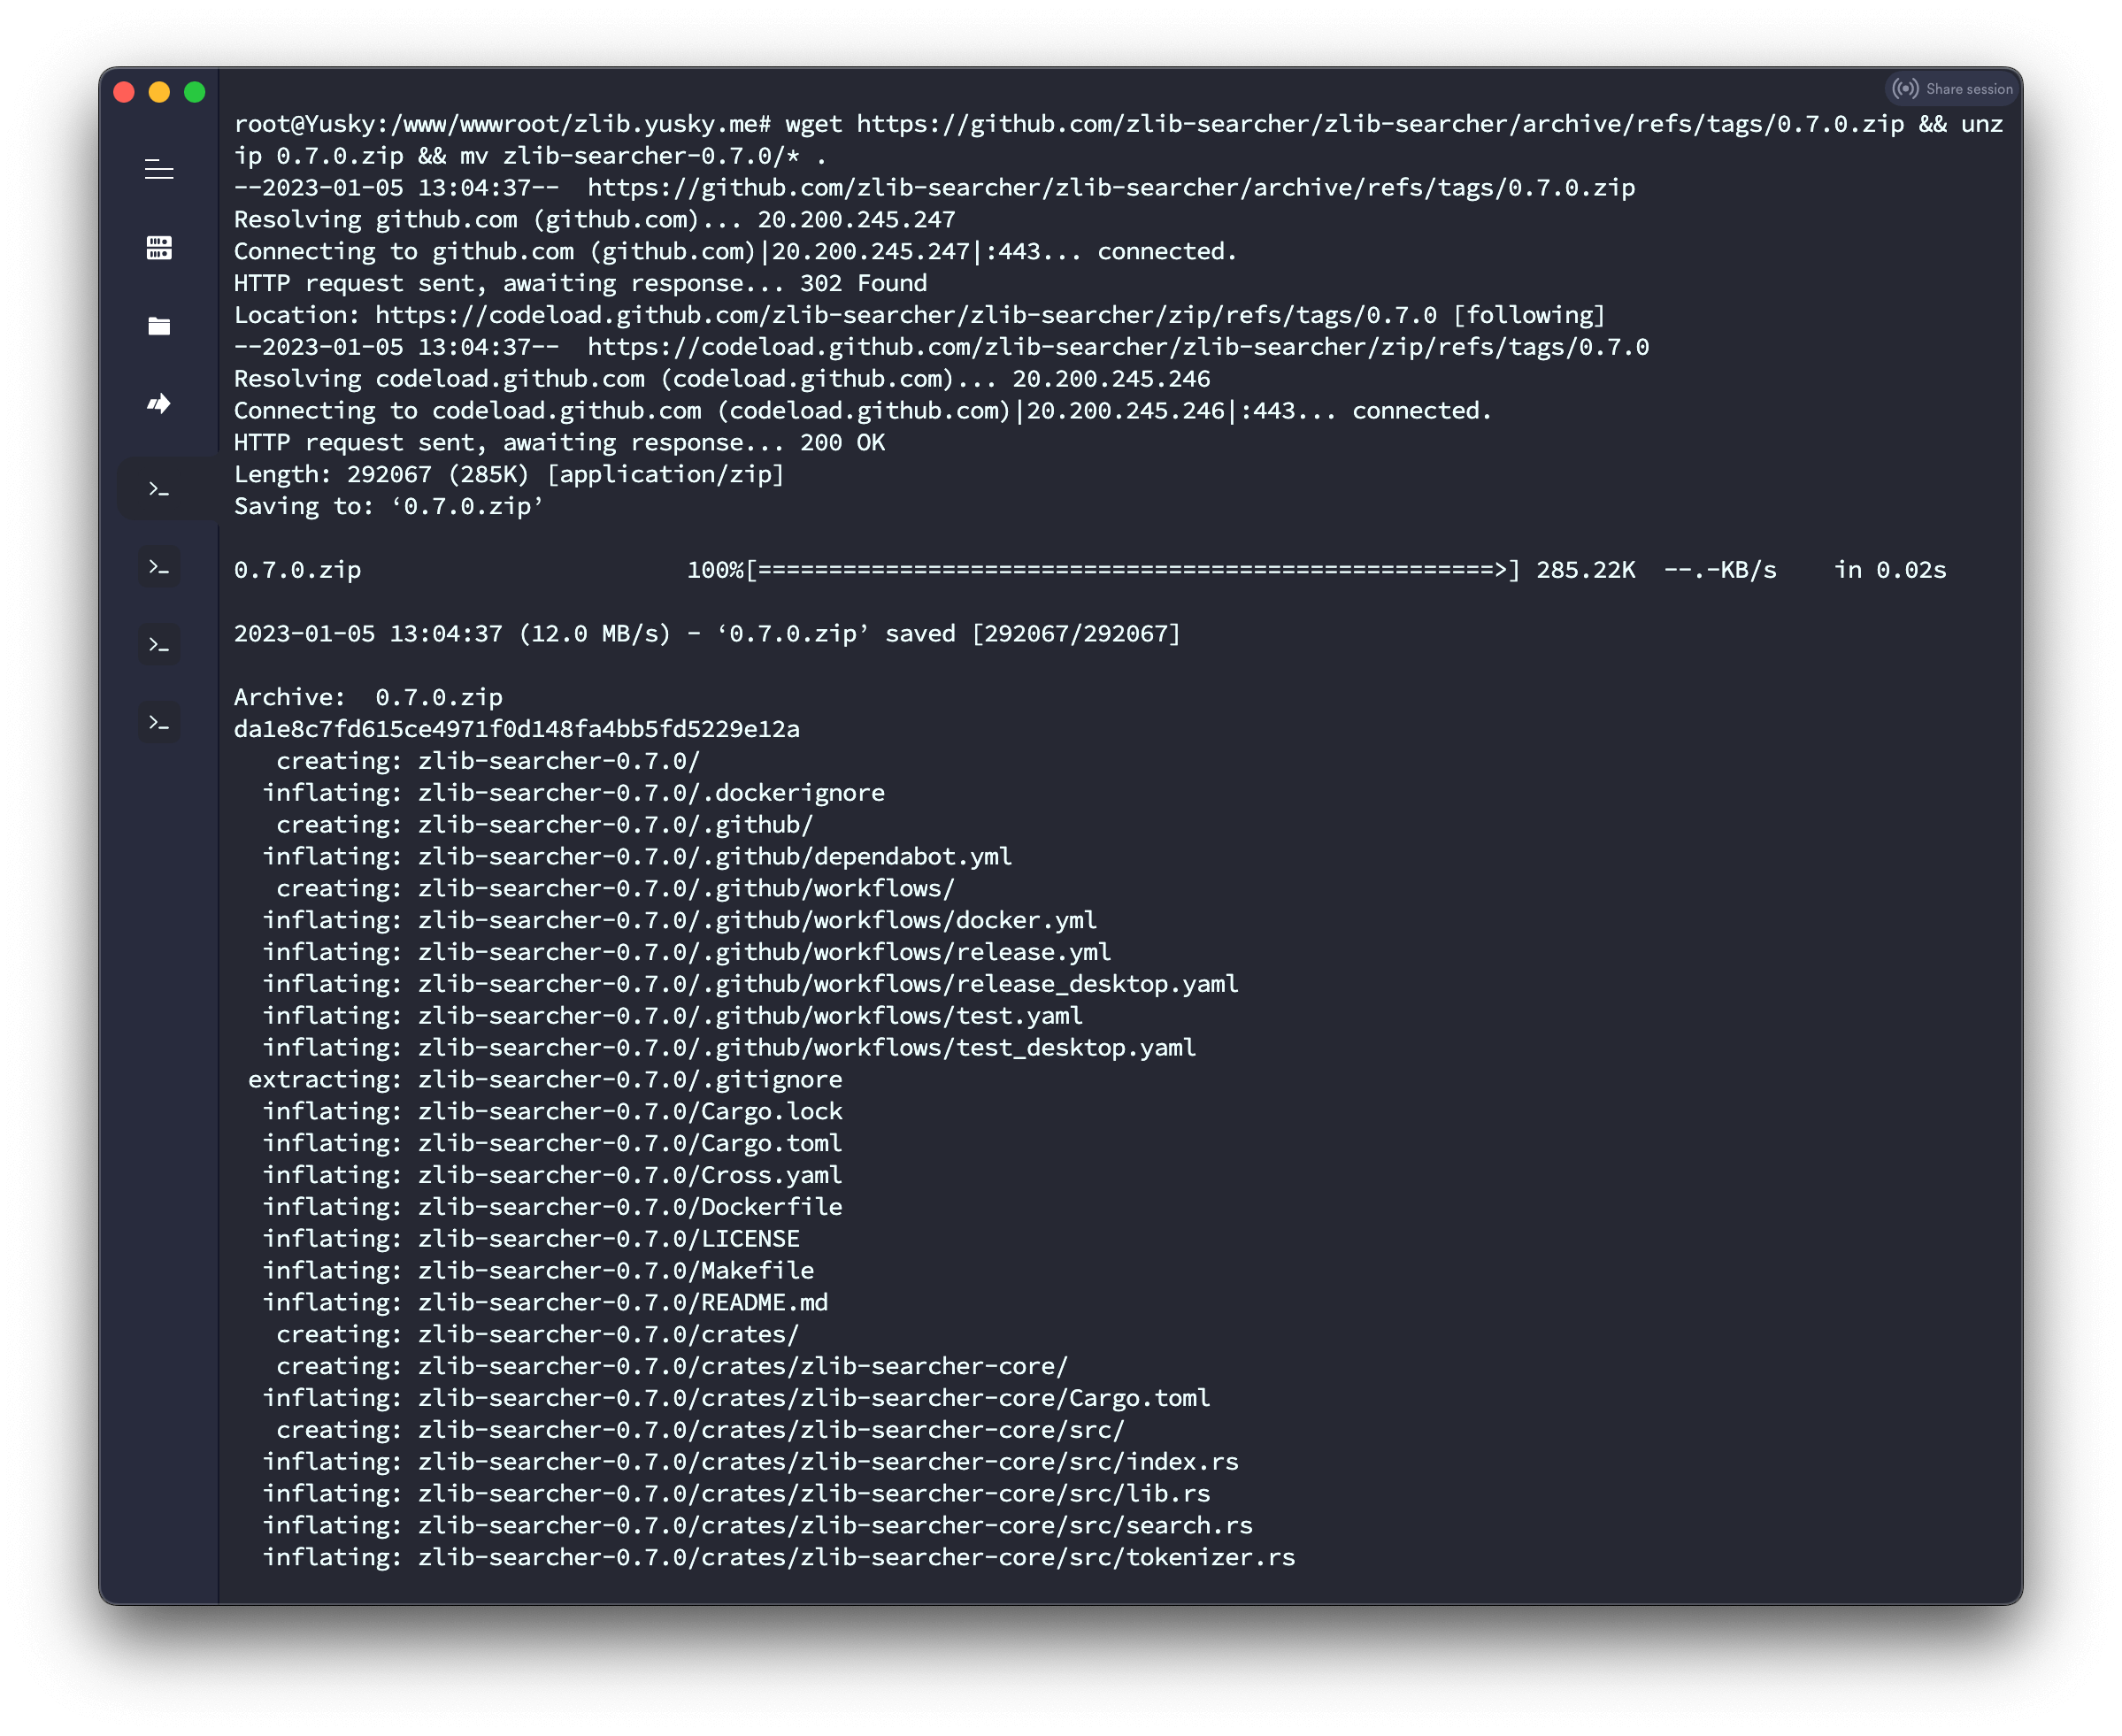
cd /www/wwwroot/zlib.yusky.me/5,下载Zlib Searcher{如有新版的,替换新版链接即可}》解压》移动文件到网站根目录。
wget https://github.com/zlib-searcher/zlib-searcher/archive/refs/tags/0.7.0.zip && unzip 0.7.0.zip && mv zlib-searcher-0.7.0/* .6,安装pnpm和cargo{不安装的话后面构建前端和后面的编译会出错}
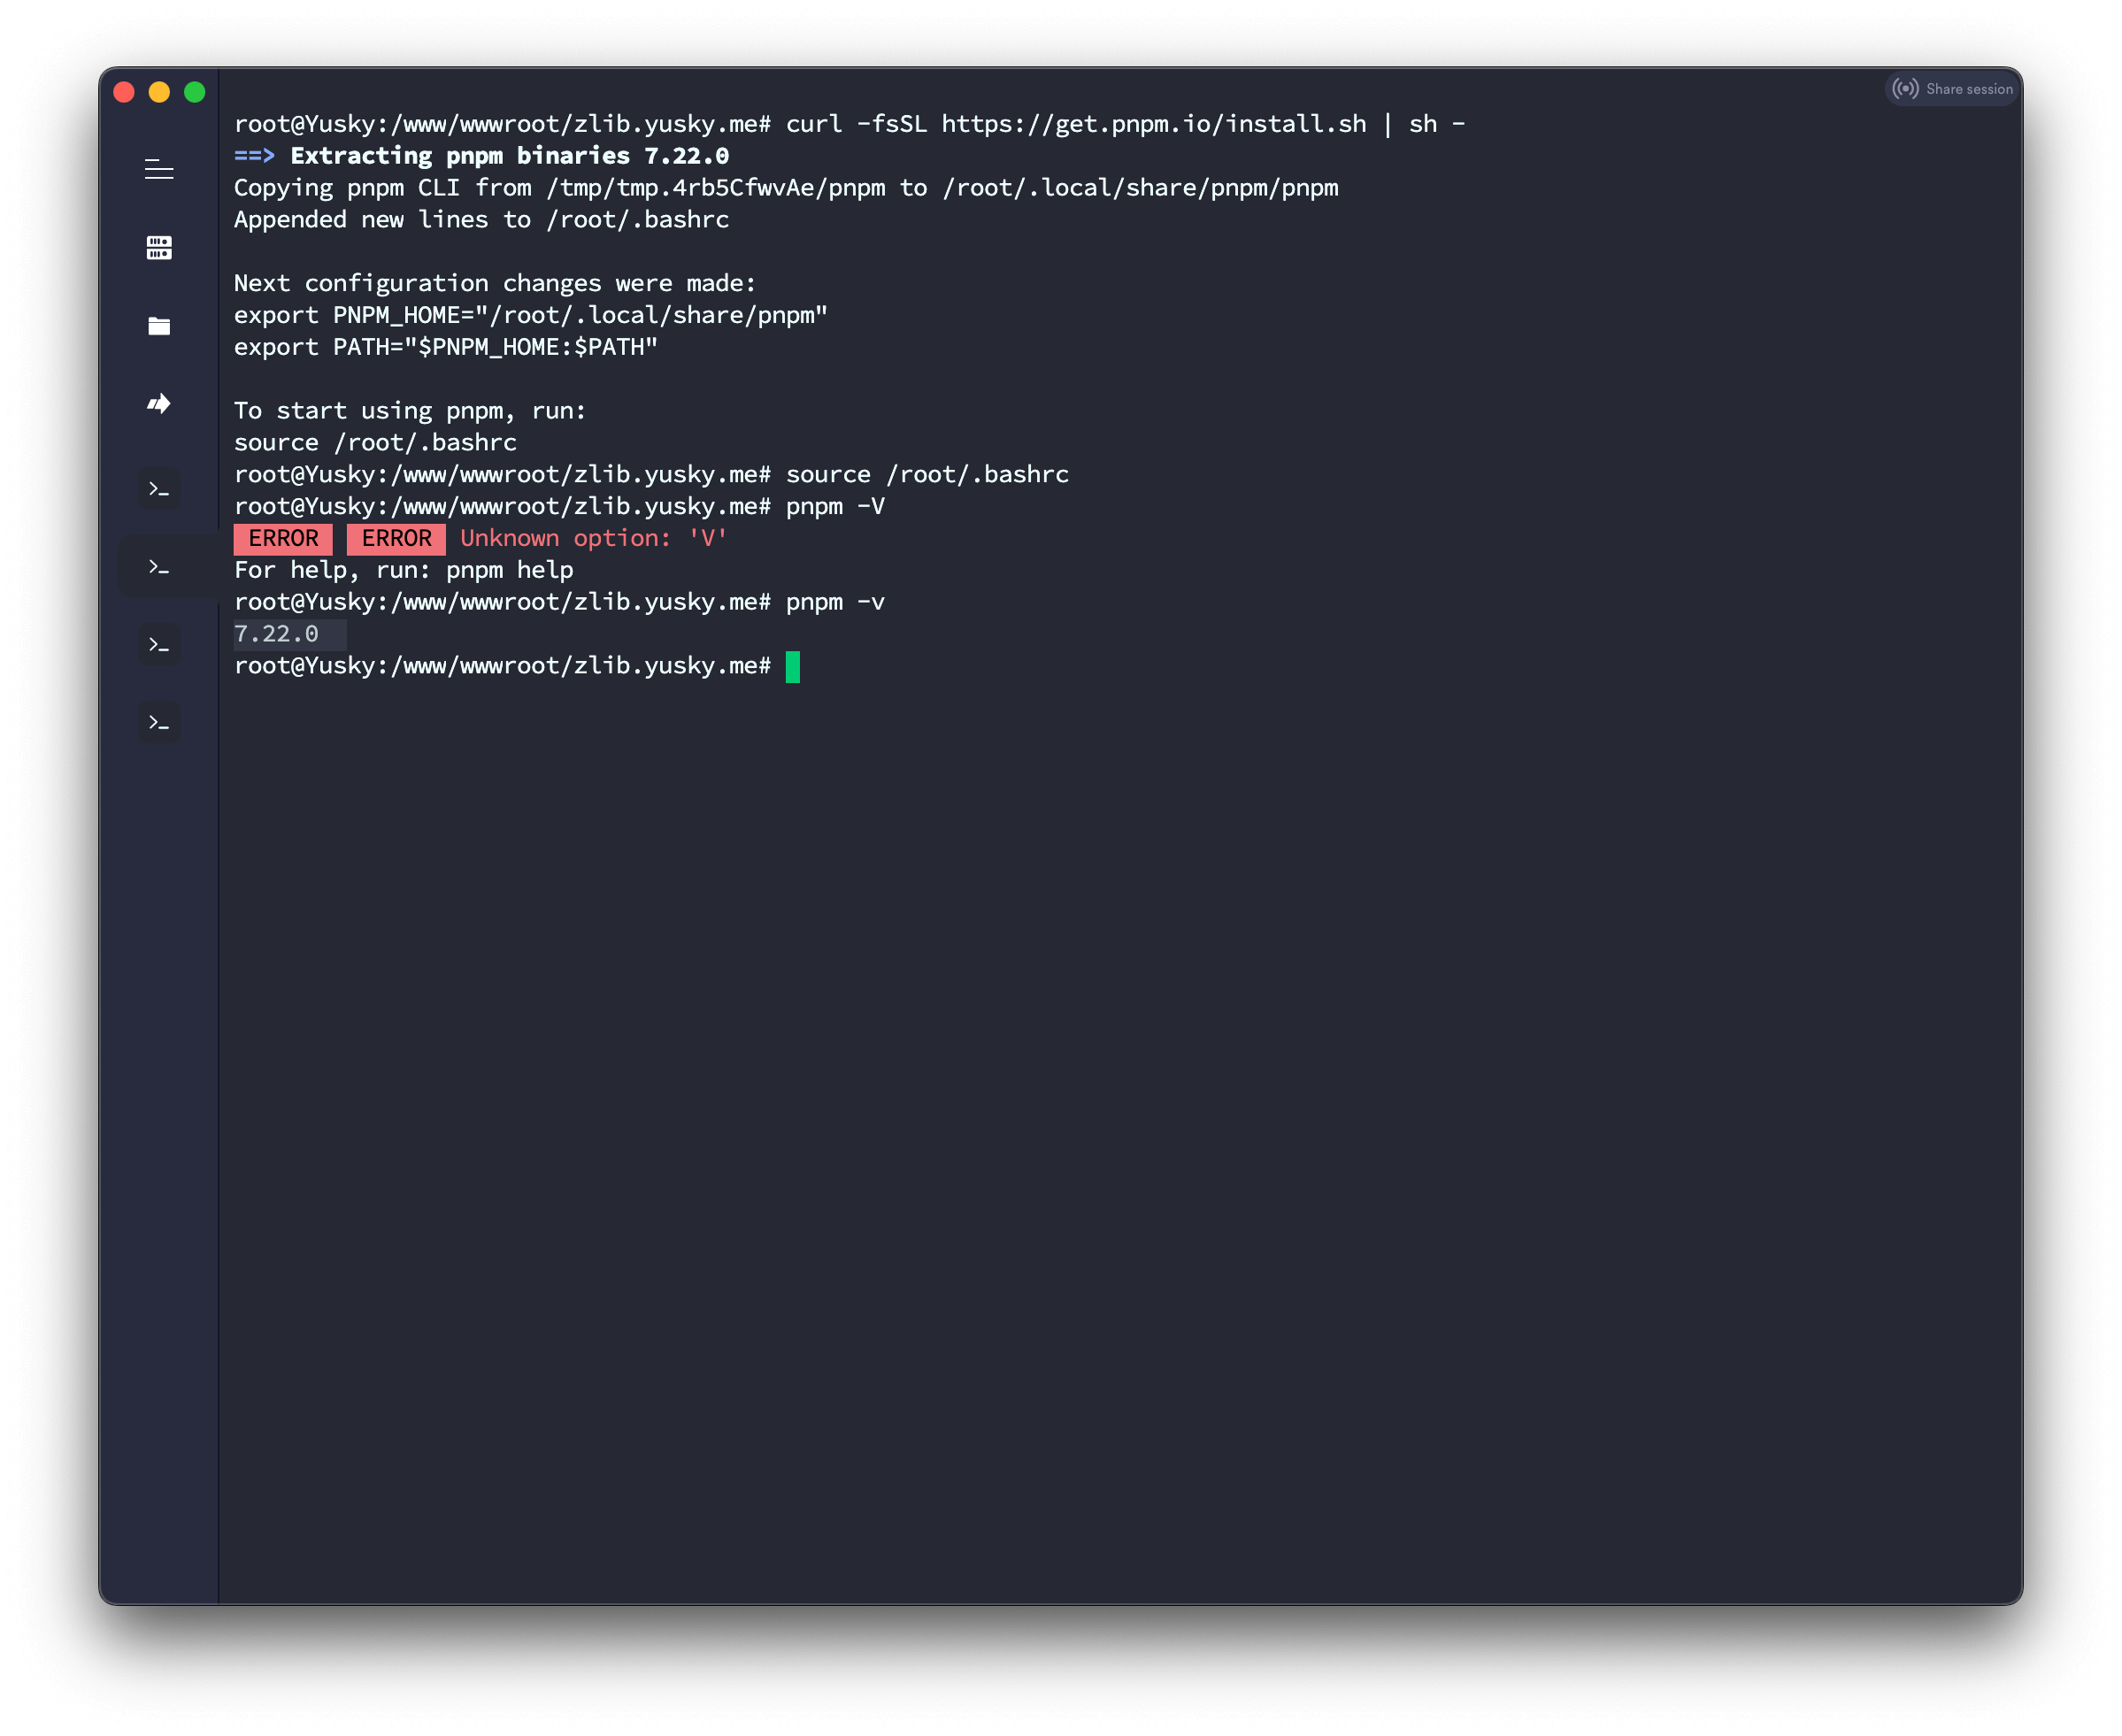
安装pnpm
curl -fsSL https://get.pnpm.io/install.sh | sh -

source /root/.bashrc
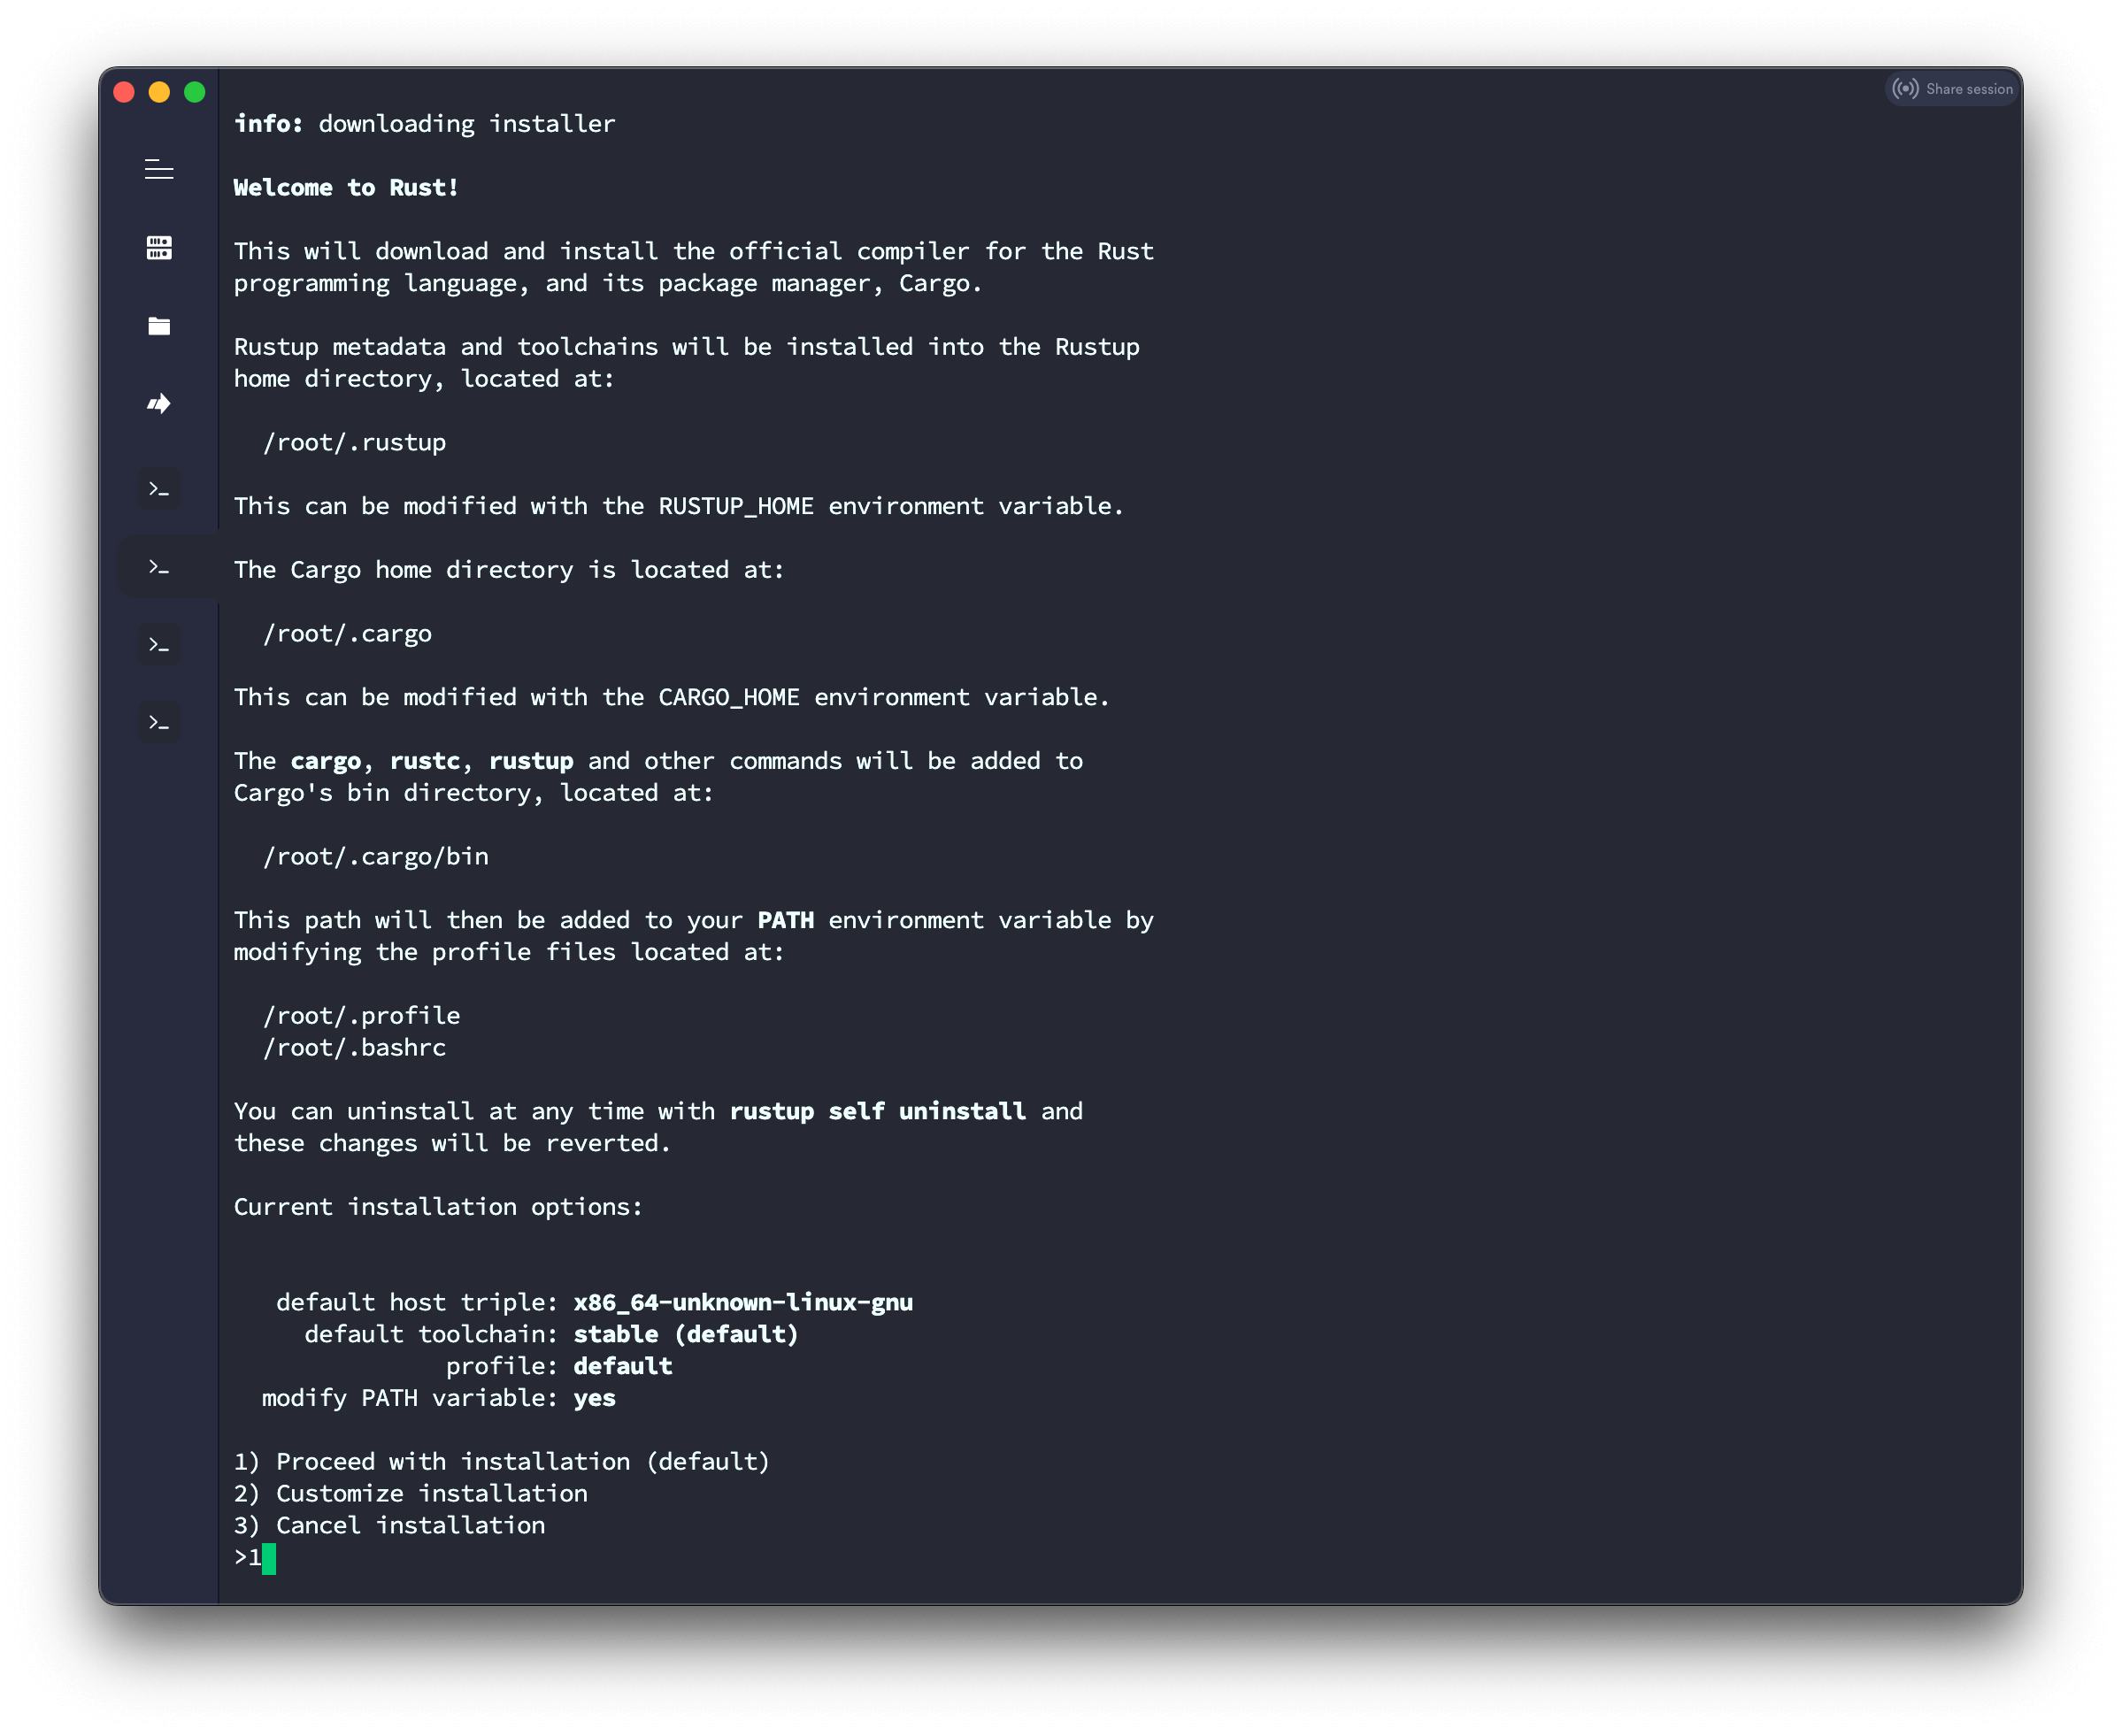
安装cargo,默认输入1然后回车即可。
curl https://sh.rustup.rs -sSf | sh

source "$HOME/.cargo/env"
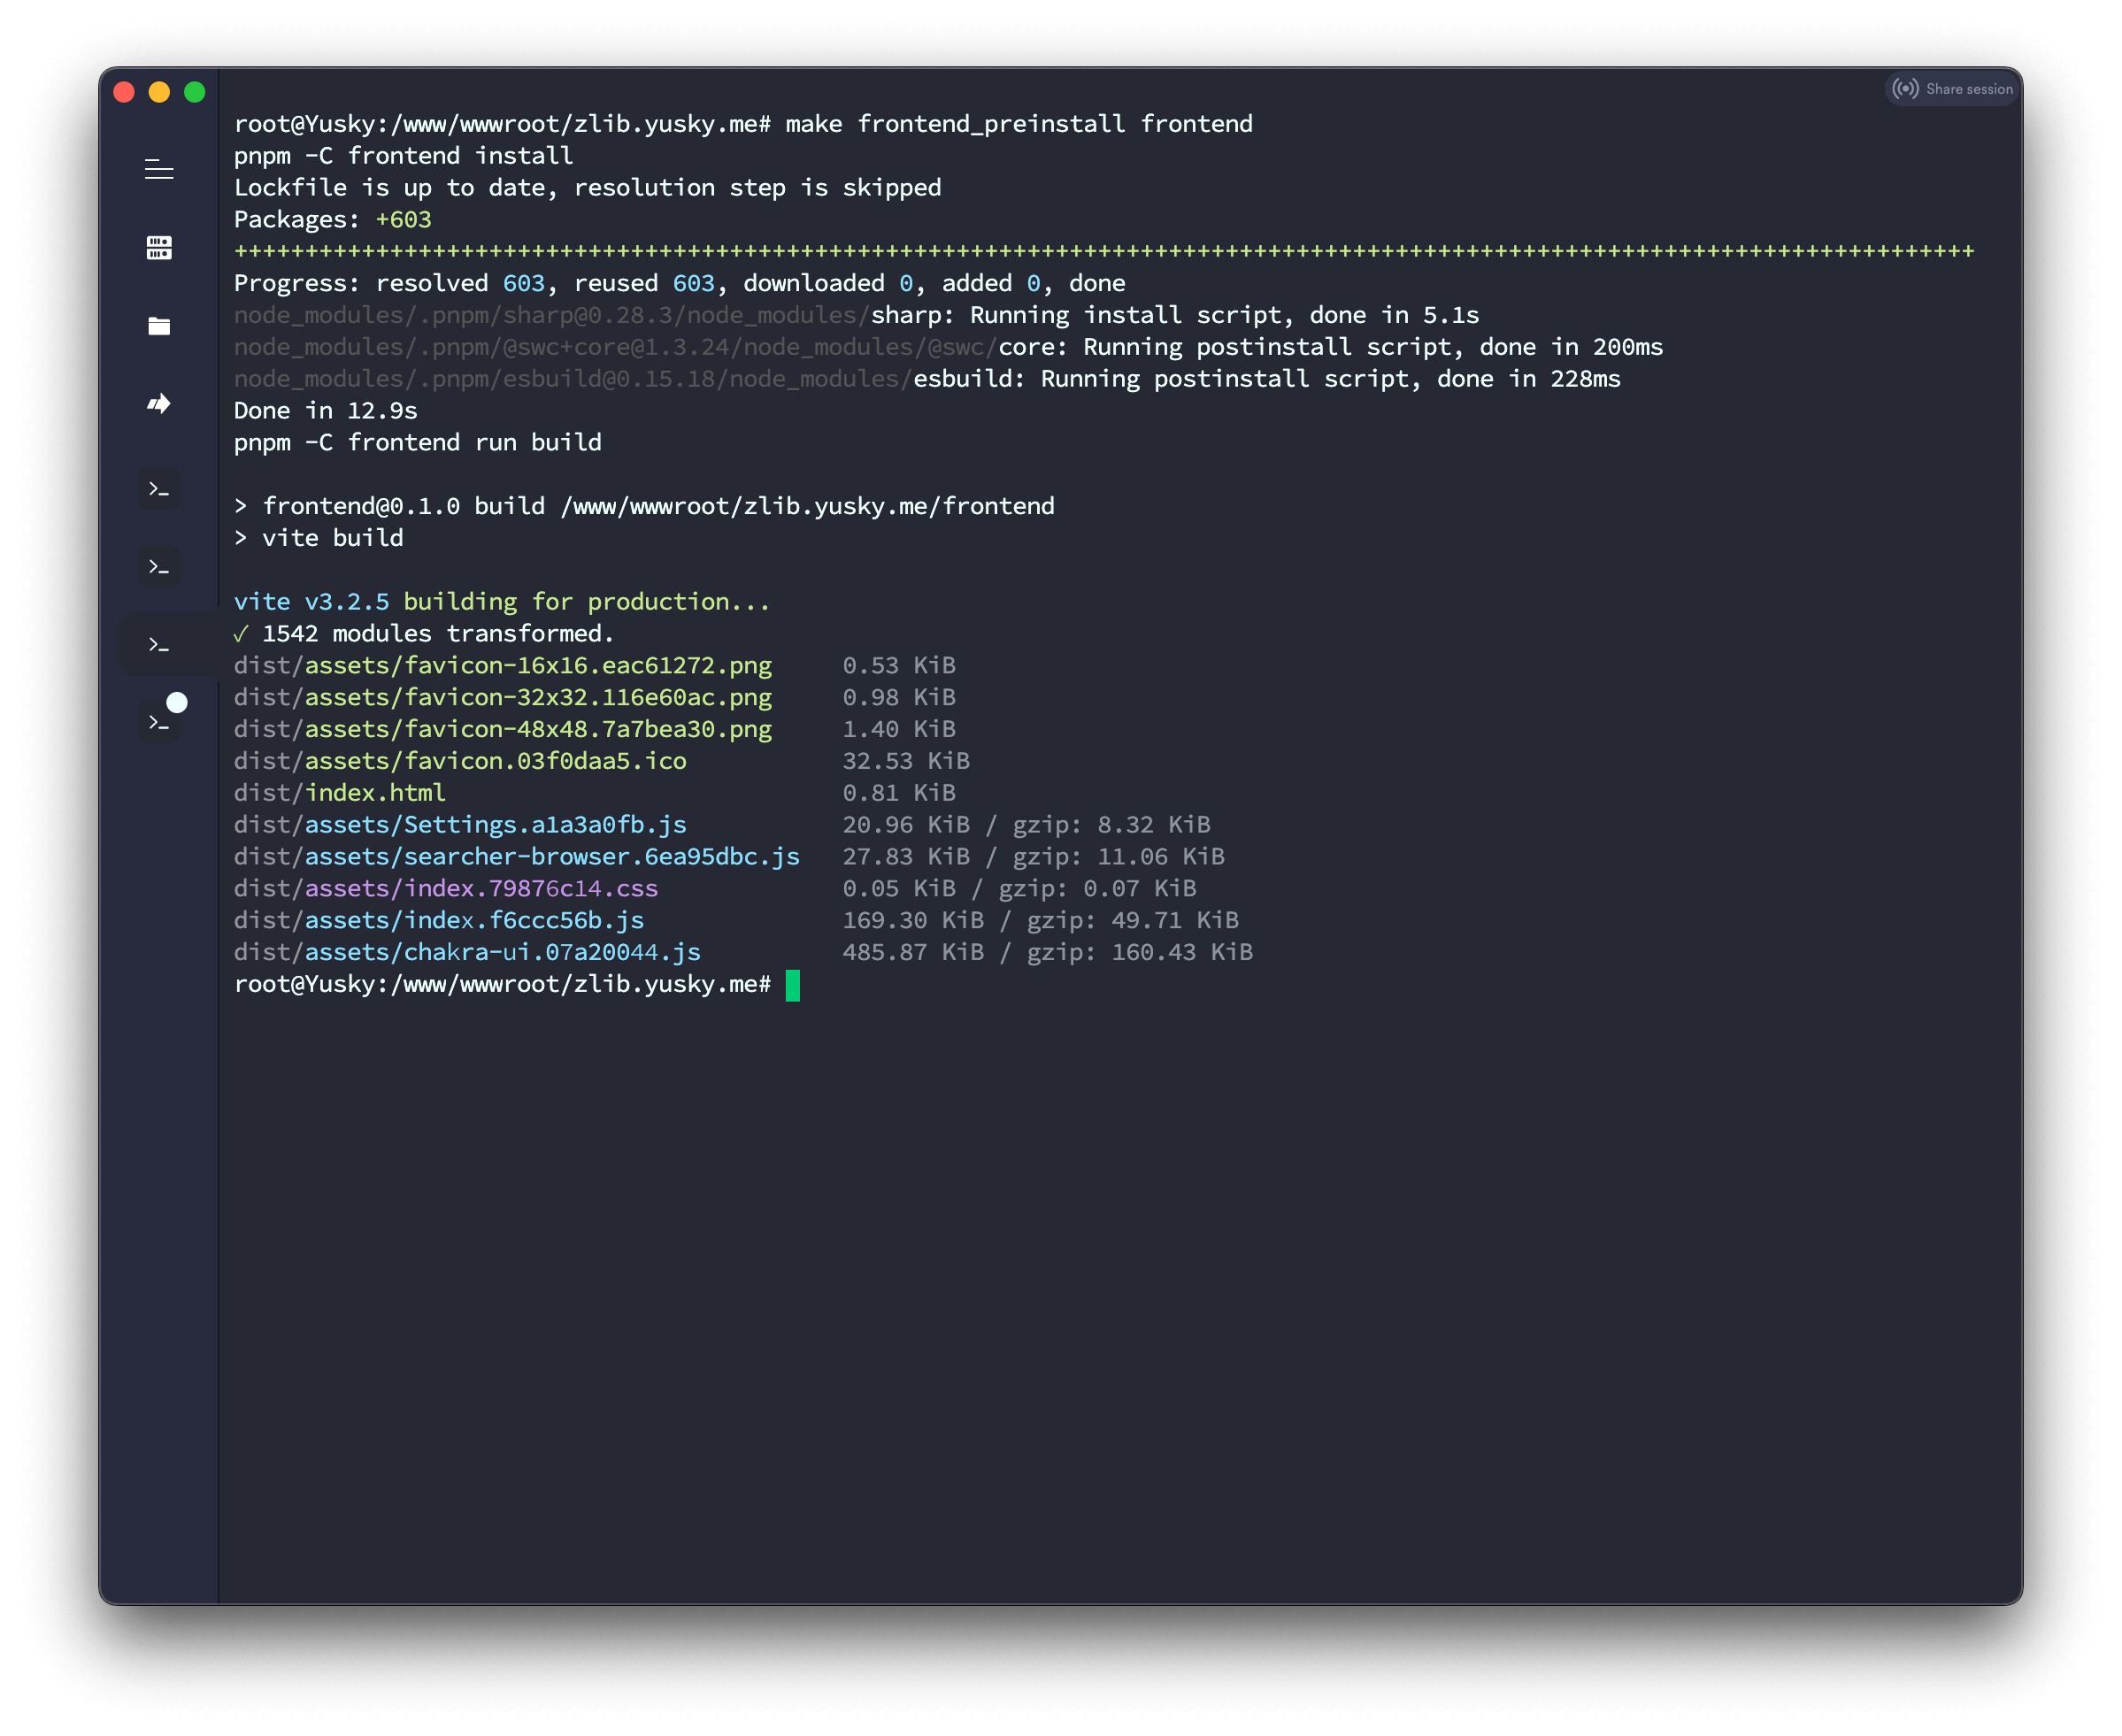
7,构建Zlib Searcher,首次构建前端。
make frontend_preinstall frontend
8,然后构建Zlib Searcher
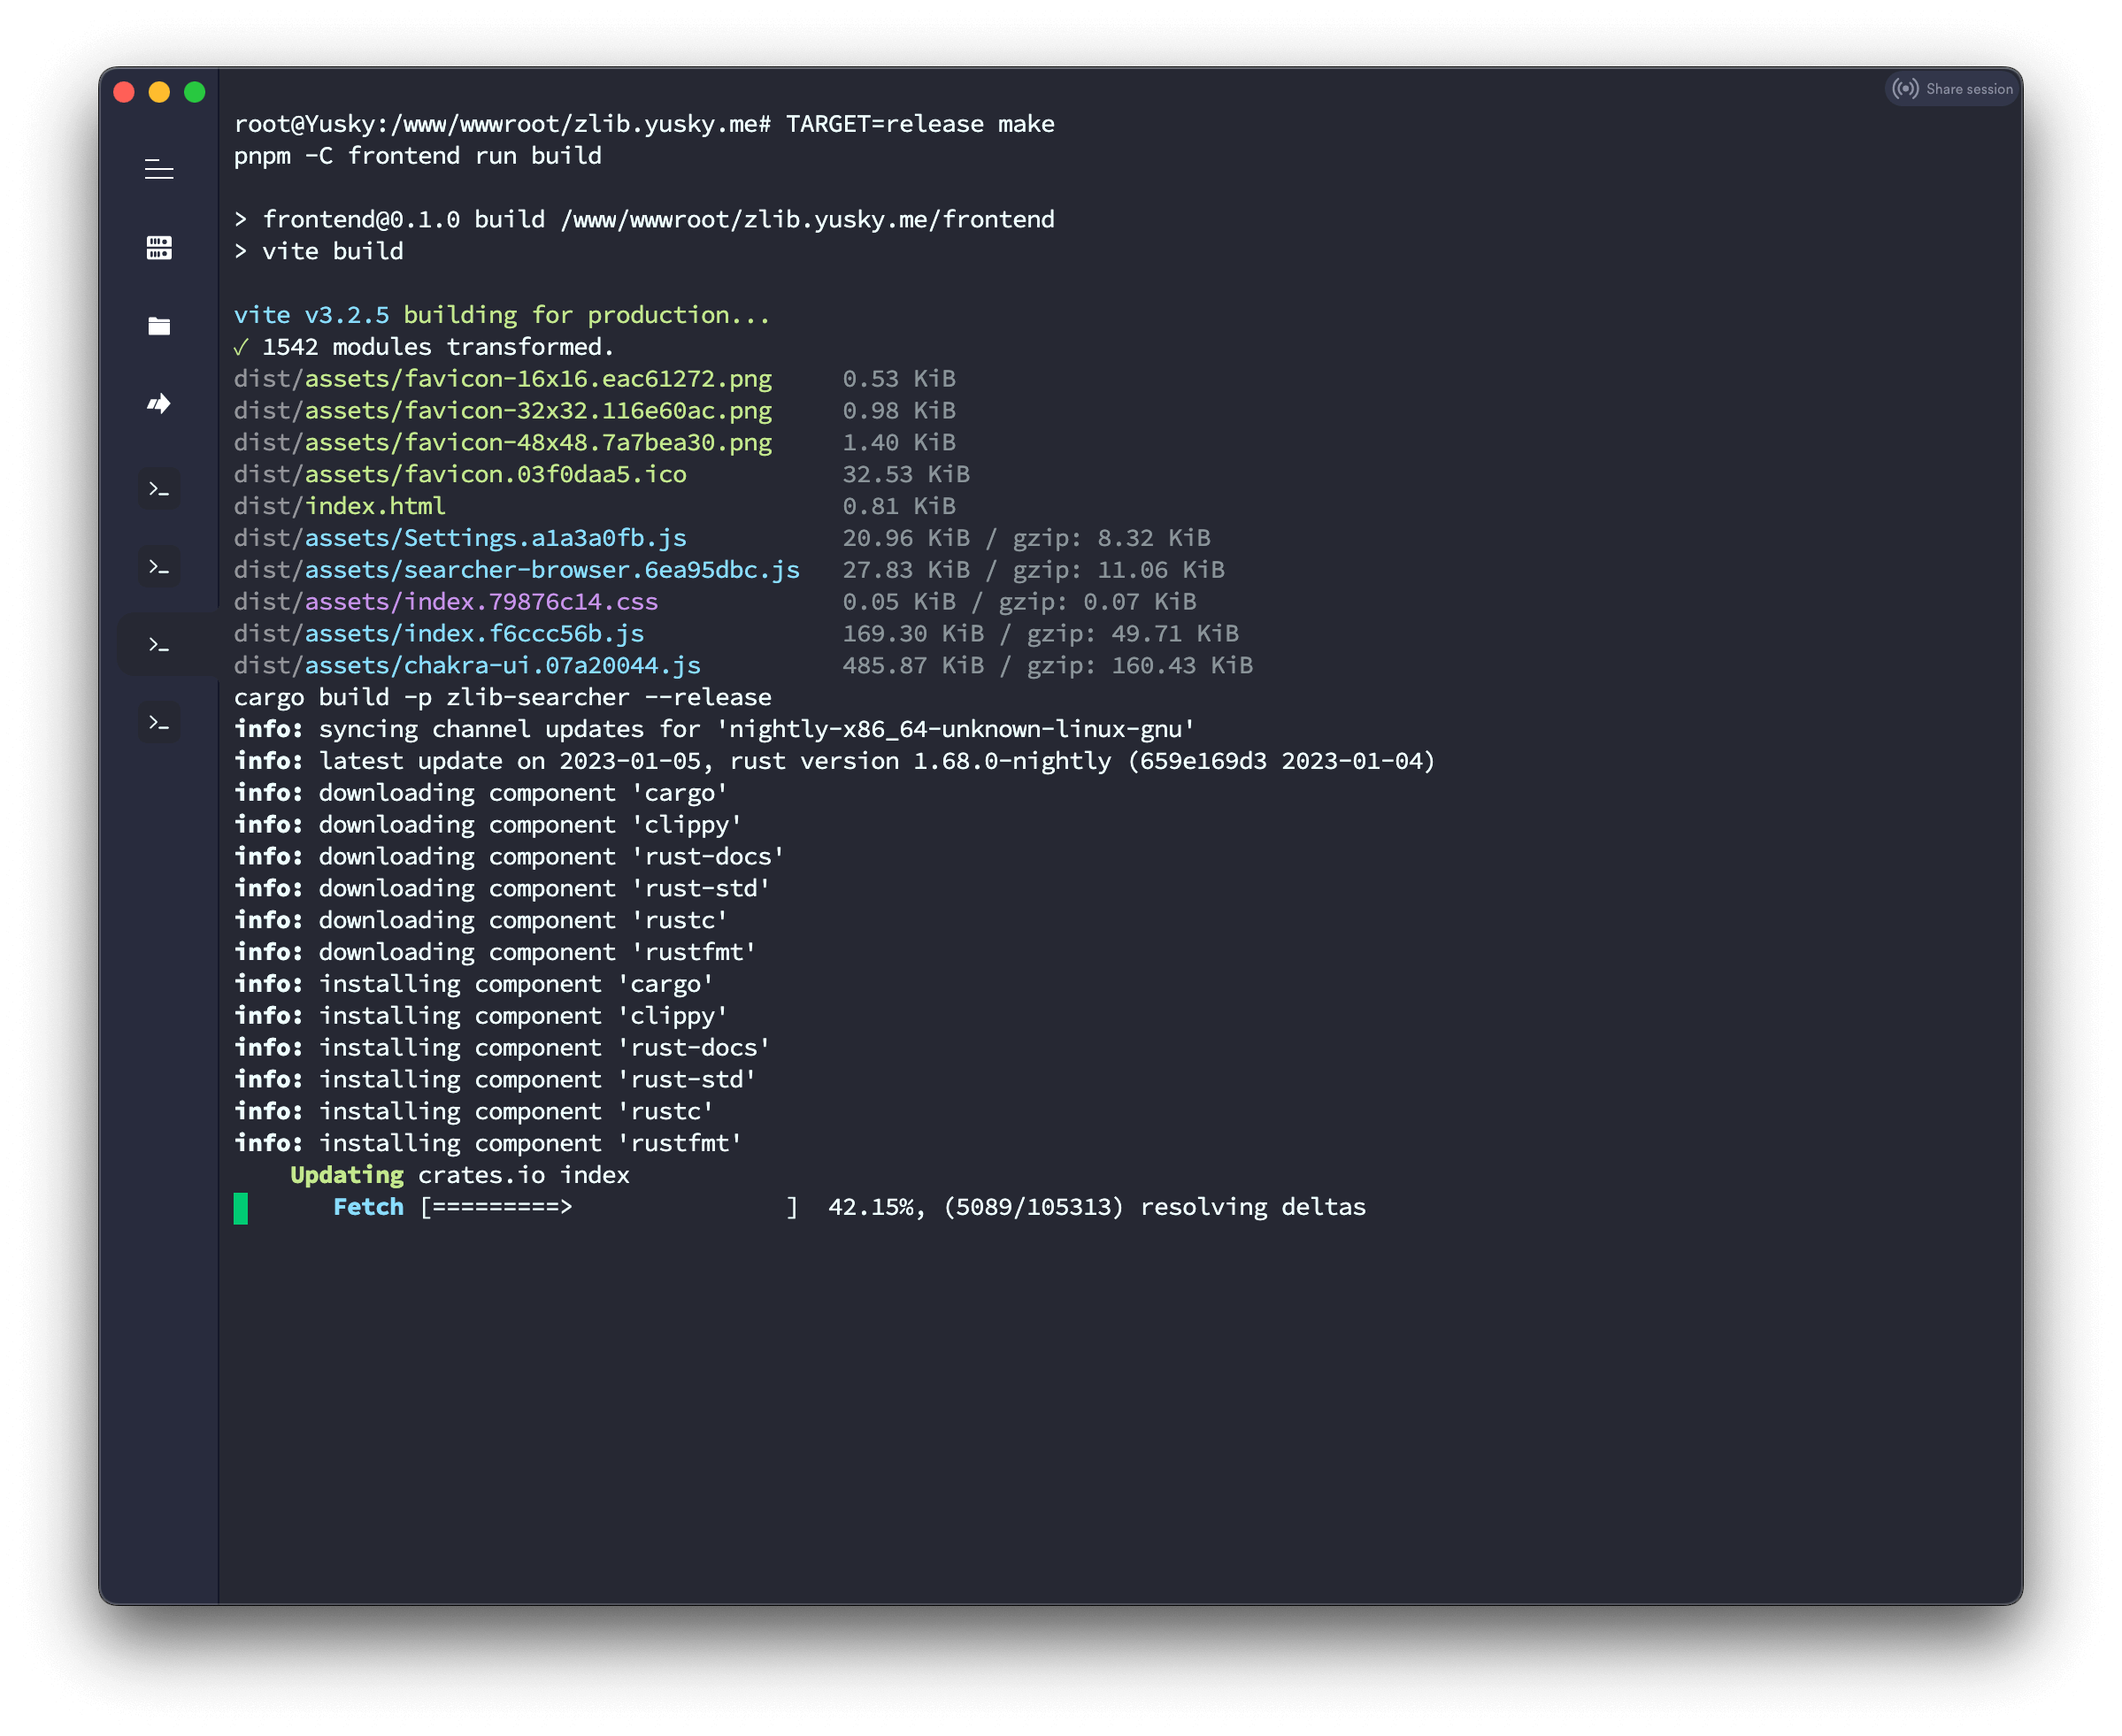
TARGET=release make

# 将编译的二进制文件移动到项目根目录

mv target/release/zlib-searcher .
8,构建index数据或者使用raw数据导入{我选择的是直接下载index数据}
方法一:直接下载index数据解压即可
wget https://github.com/zlib-searcher/index/releases/download/0.6/index_0.6.zip && unzip index_0.6.zip
方法二:下载zlib_index_books.csv.zip和libgen_index_bbooks.csv.zip,并将csv文件解压缩到项目根目录。
wget https://github.com/zlib-searcher/raw/releases/download/1/libgen_index_books.csv.zip && unzip libgen_index_books.csv.zip

wget https://github.com/zlib-searcher/raw/releases/download/1/zlib_index_books.csv.zip && unzip libgen_zlib_index_books.csv.zip
然后运行进行索引。您可能需要先rm index/*。
zlib-searcher index
如果您有其他csv文件,可以运行zlib searcher index-f*.csv对其进行索引。
最终文件夹结构应如下所示:
zlib_searcher_dir // in the example above, it is project root directory.
├── index
│   ├── some index files...
│   └── meta.json
└── zlib-searcher
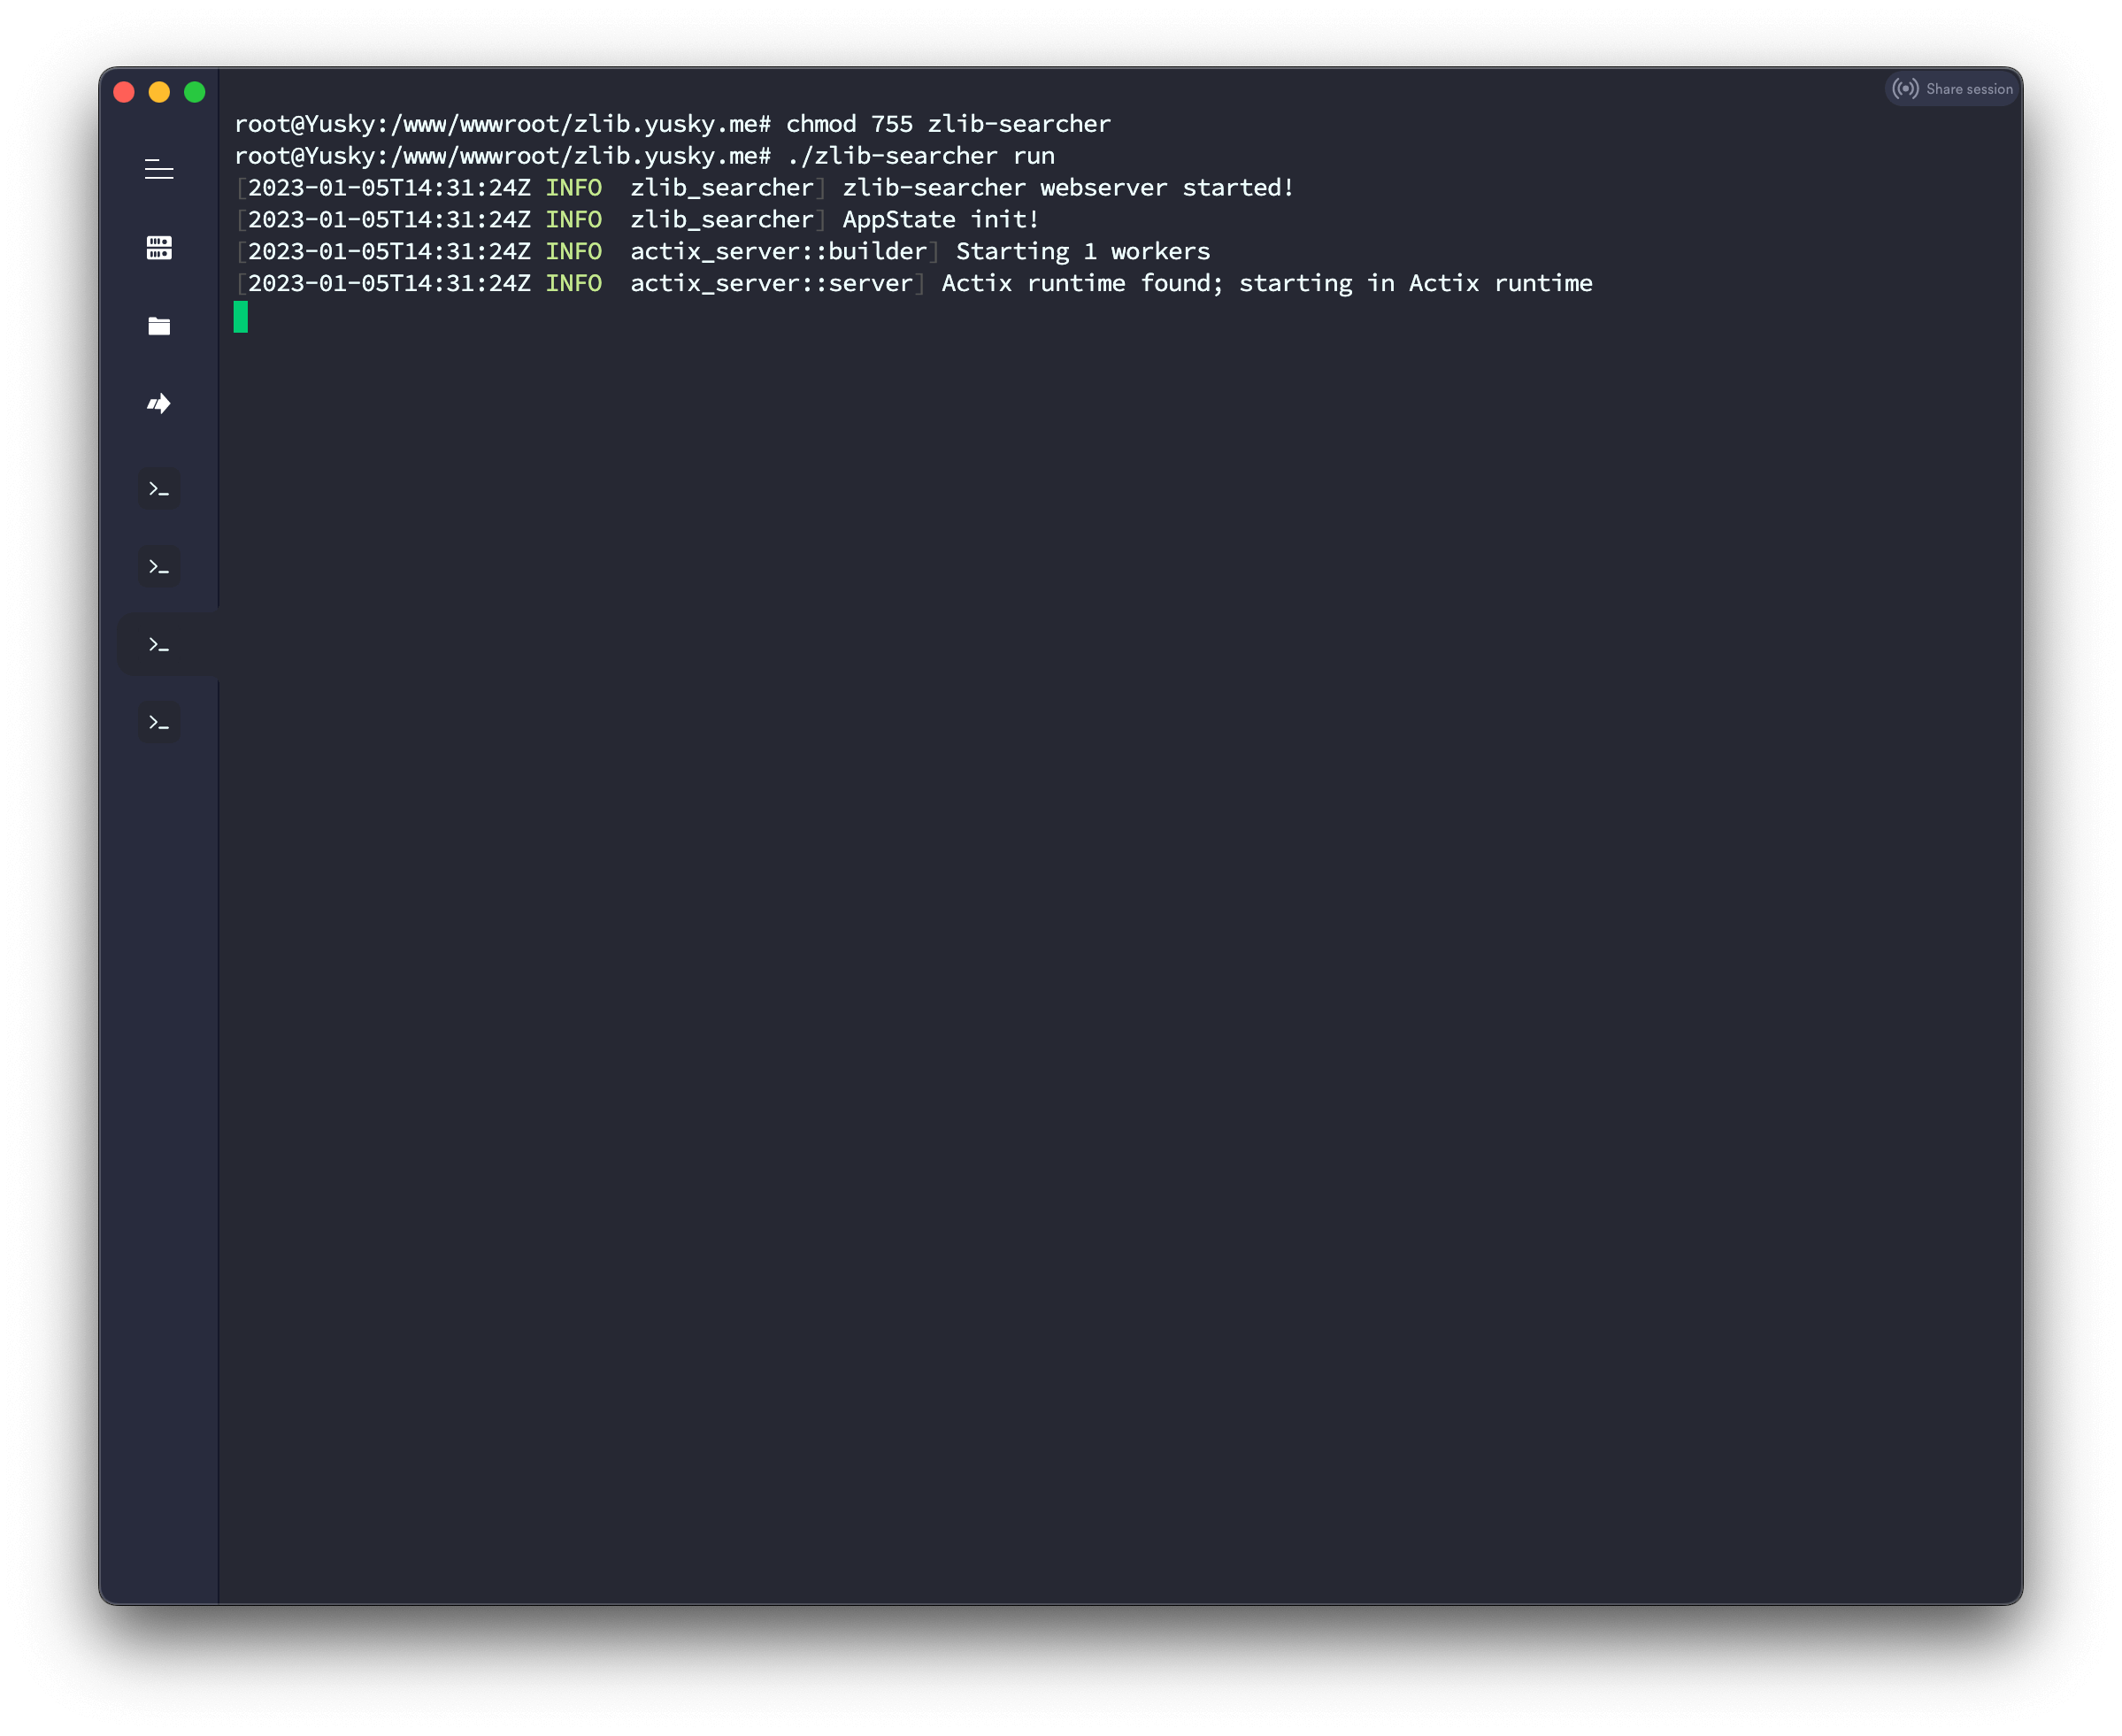
9,运行项目,它将监听127.0.0.1:7070。
chmod 755 zlib-searcher

./zlib-searcher run
运行成功。
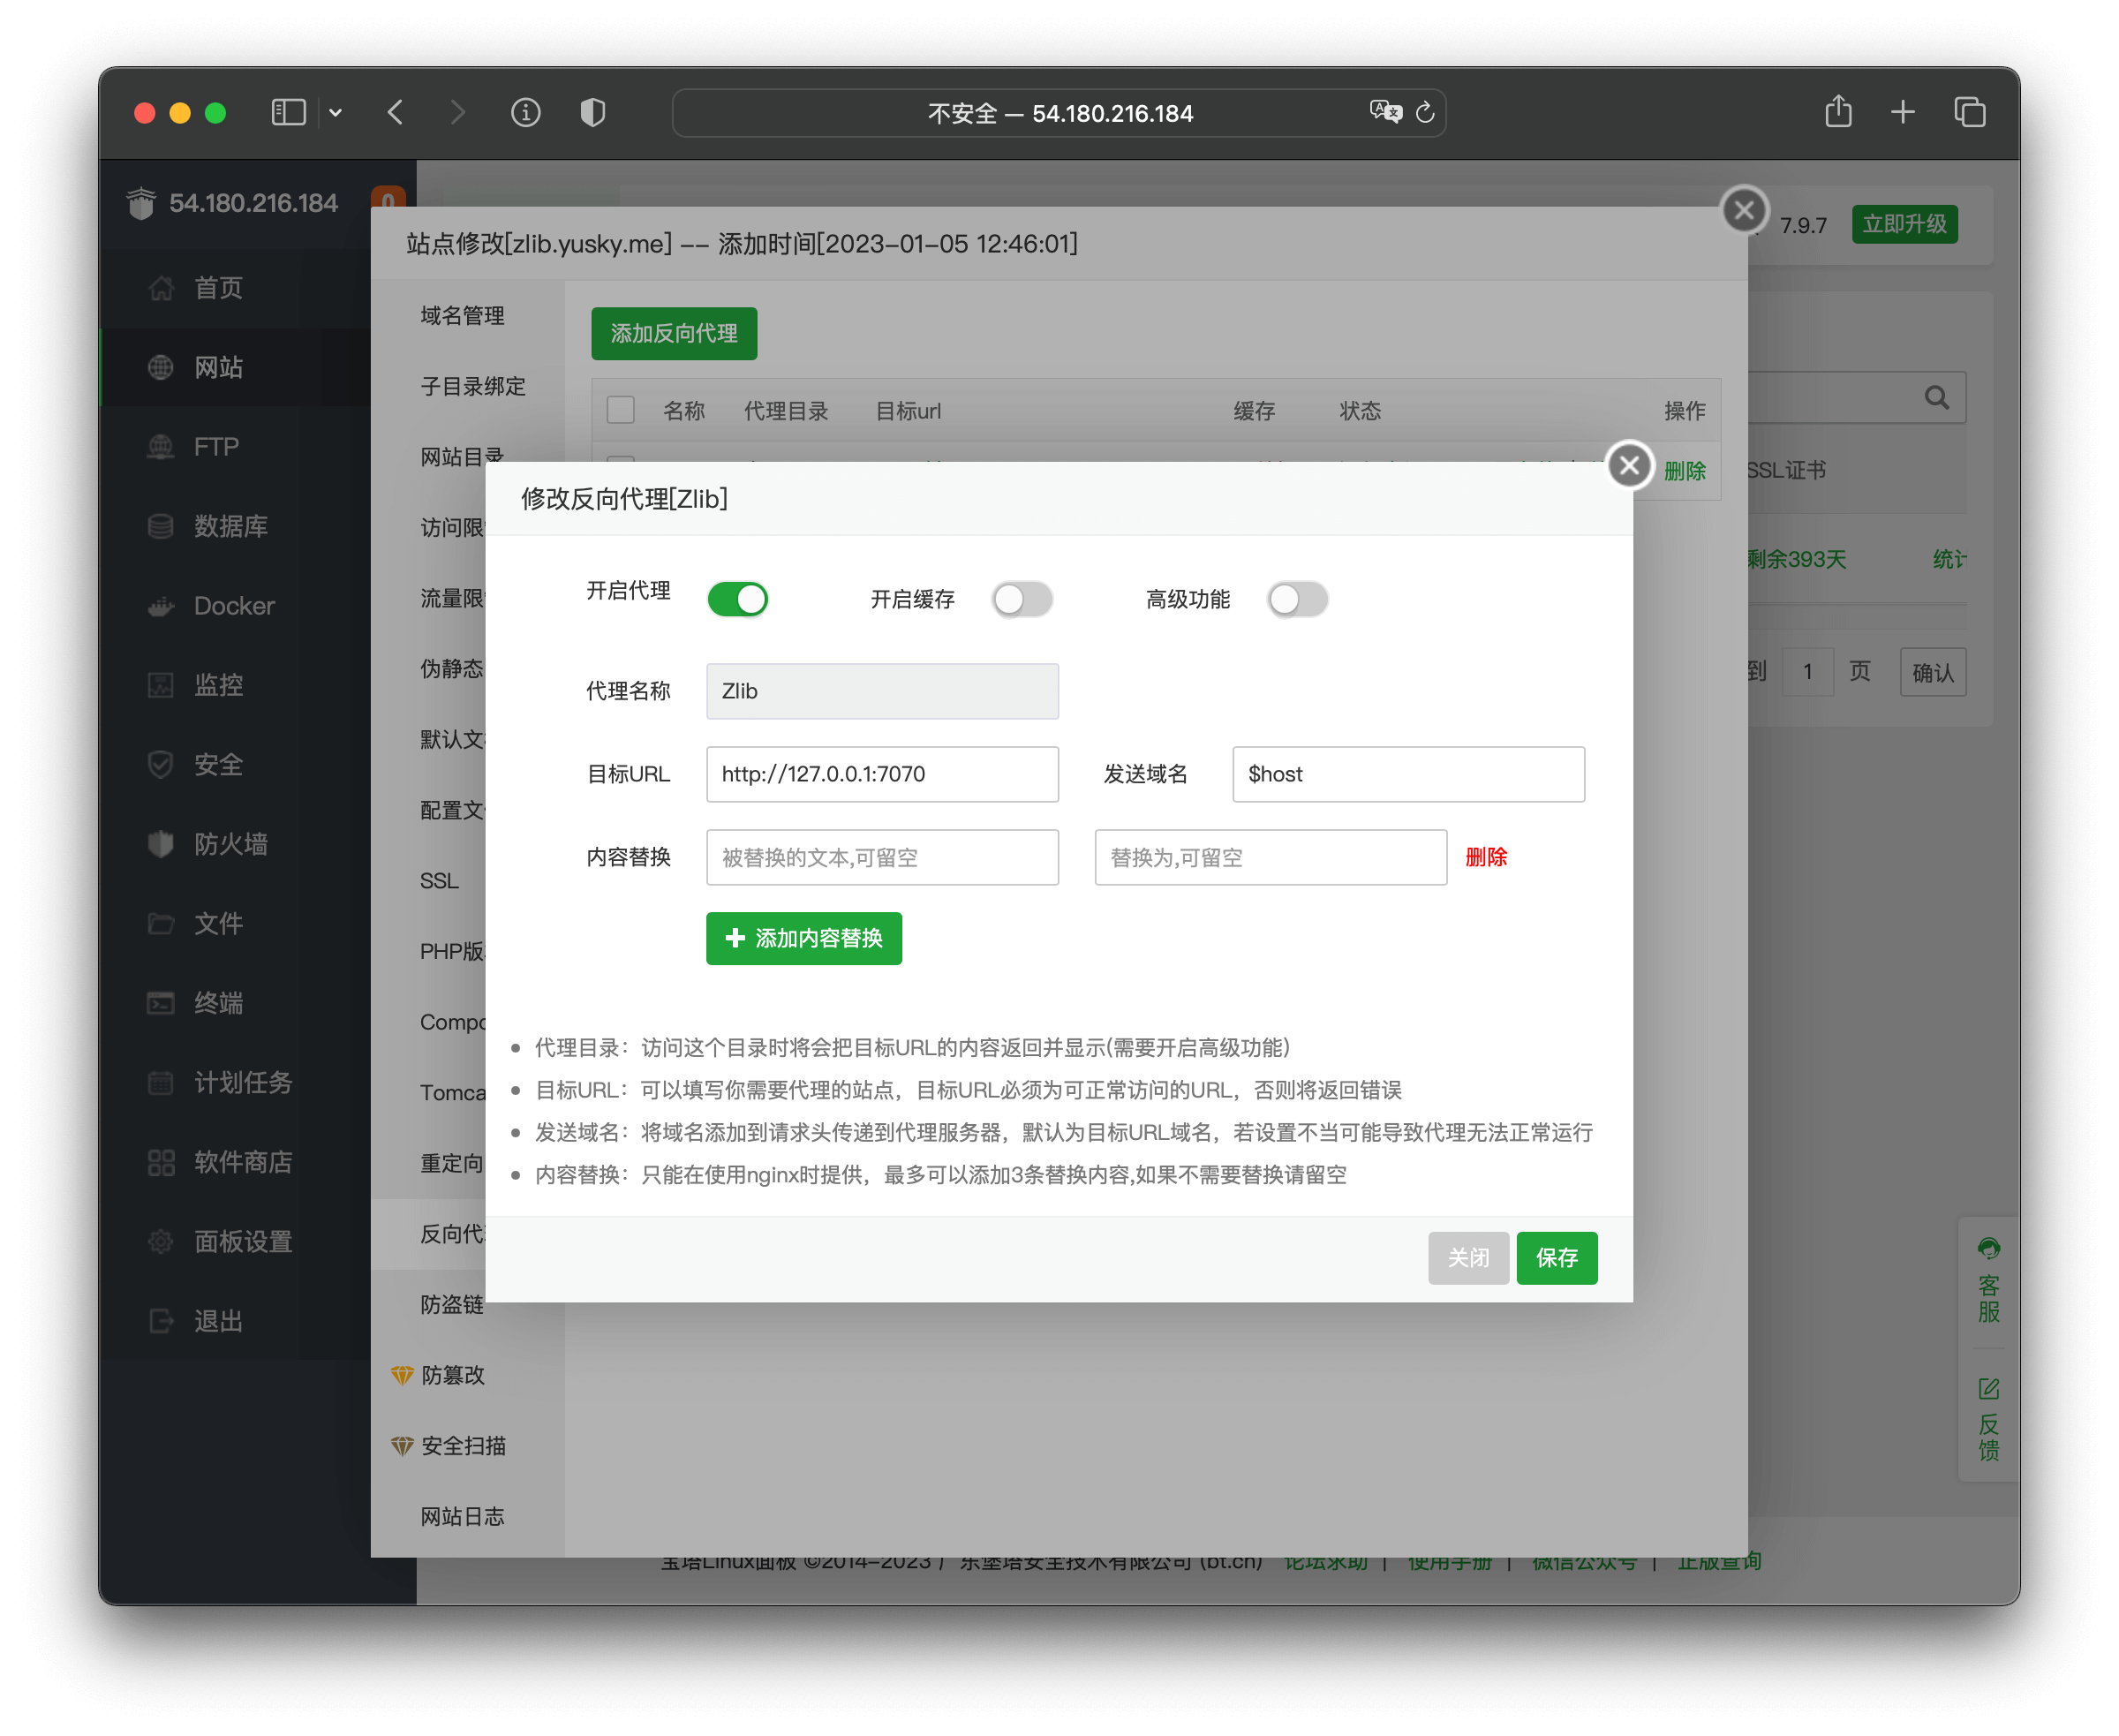
10,接下来我们在网站添加反代以及配置SSL证书,进入网站》点击站点修改》反向代理》添加反向代理》提交。
PS:安利下证书,certum.cn 证书实惠,单域名45元一年,通配符278一年。
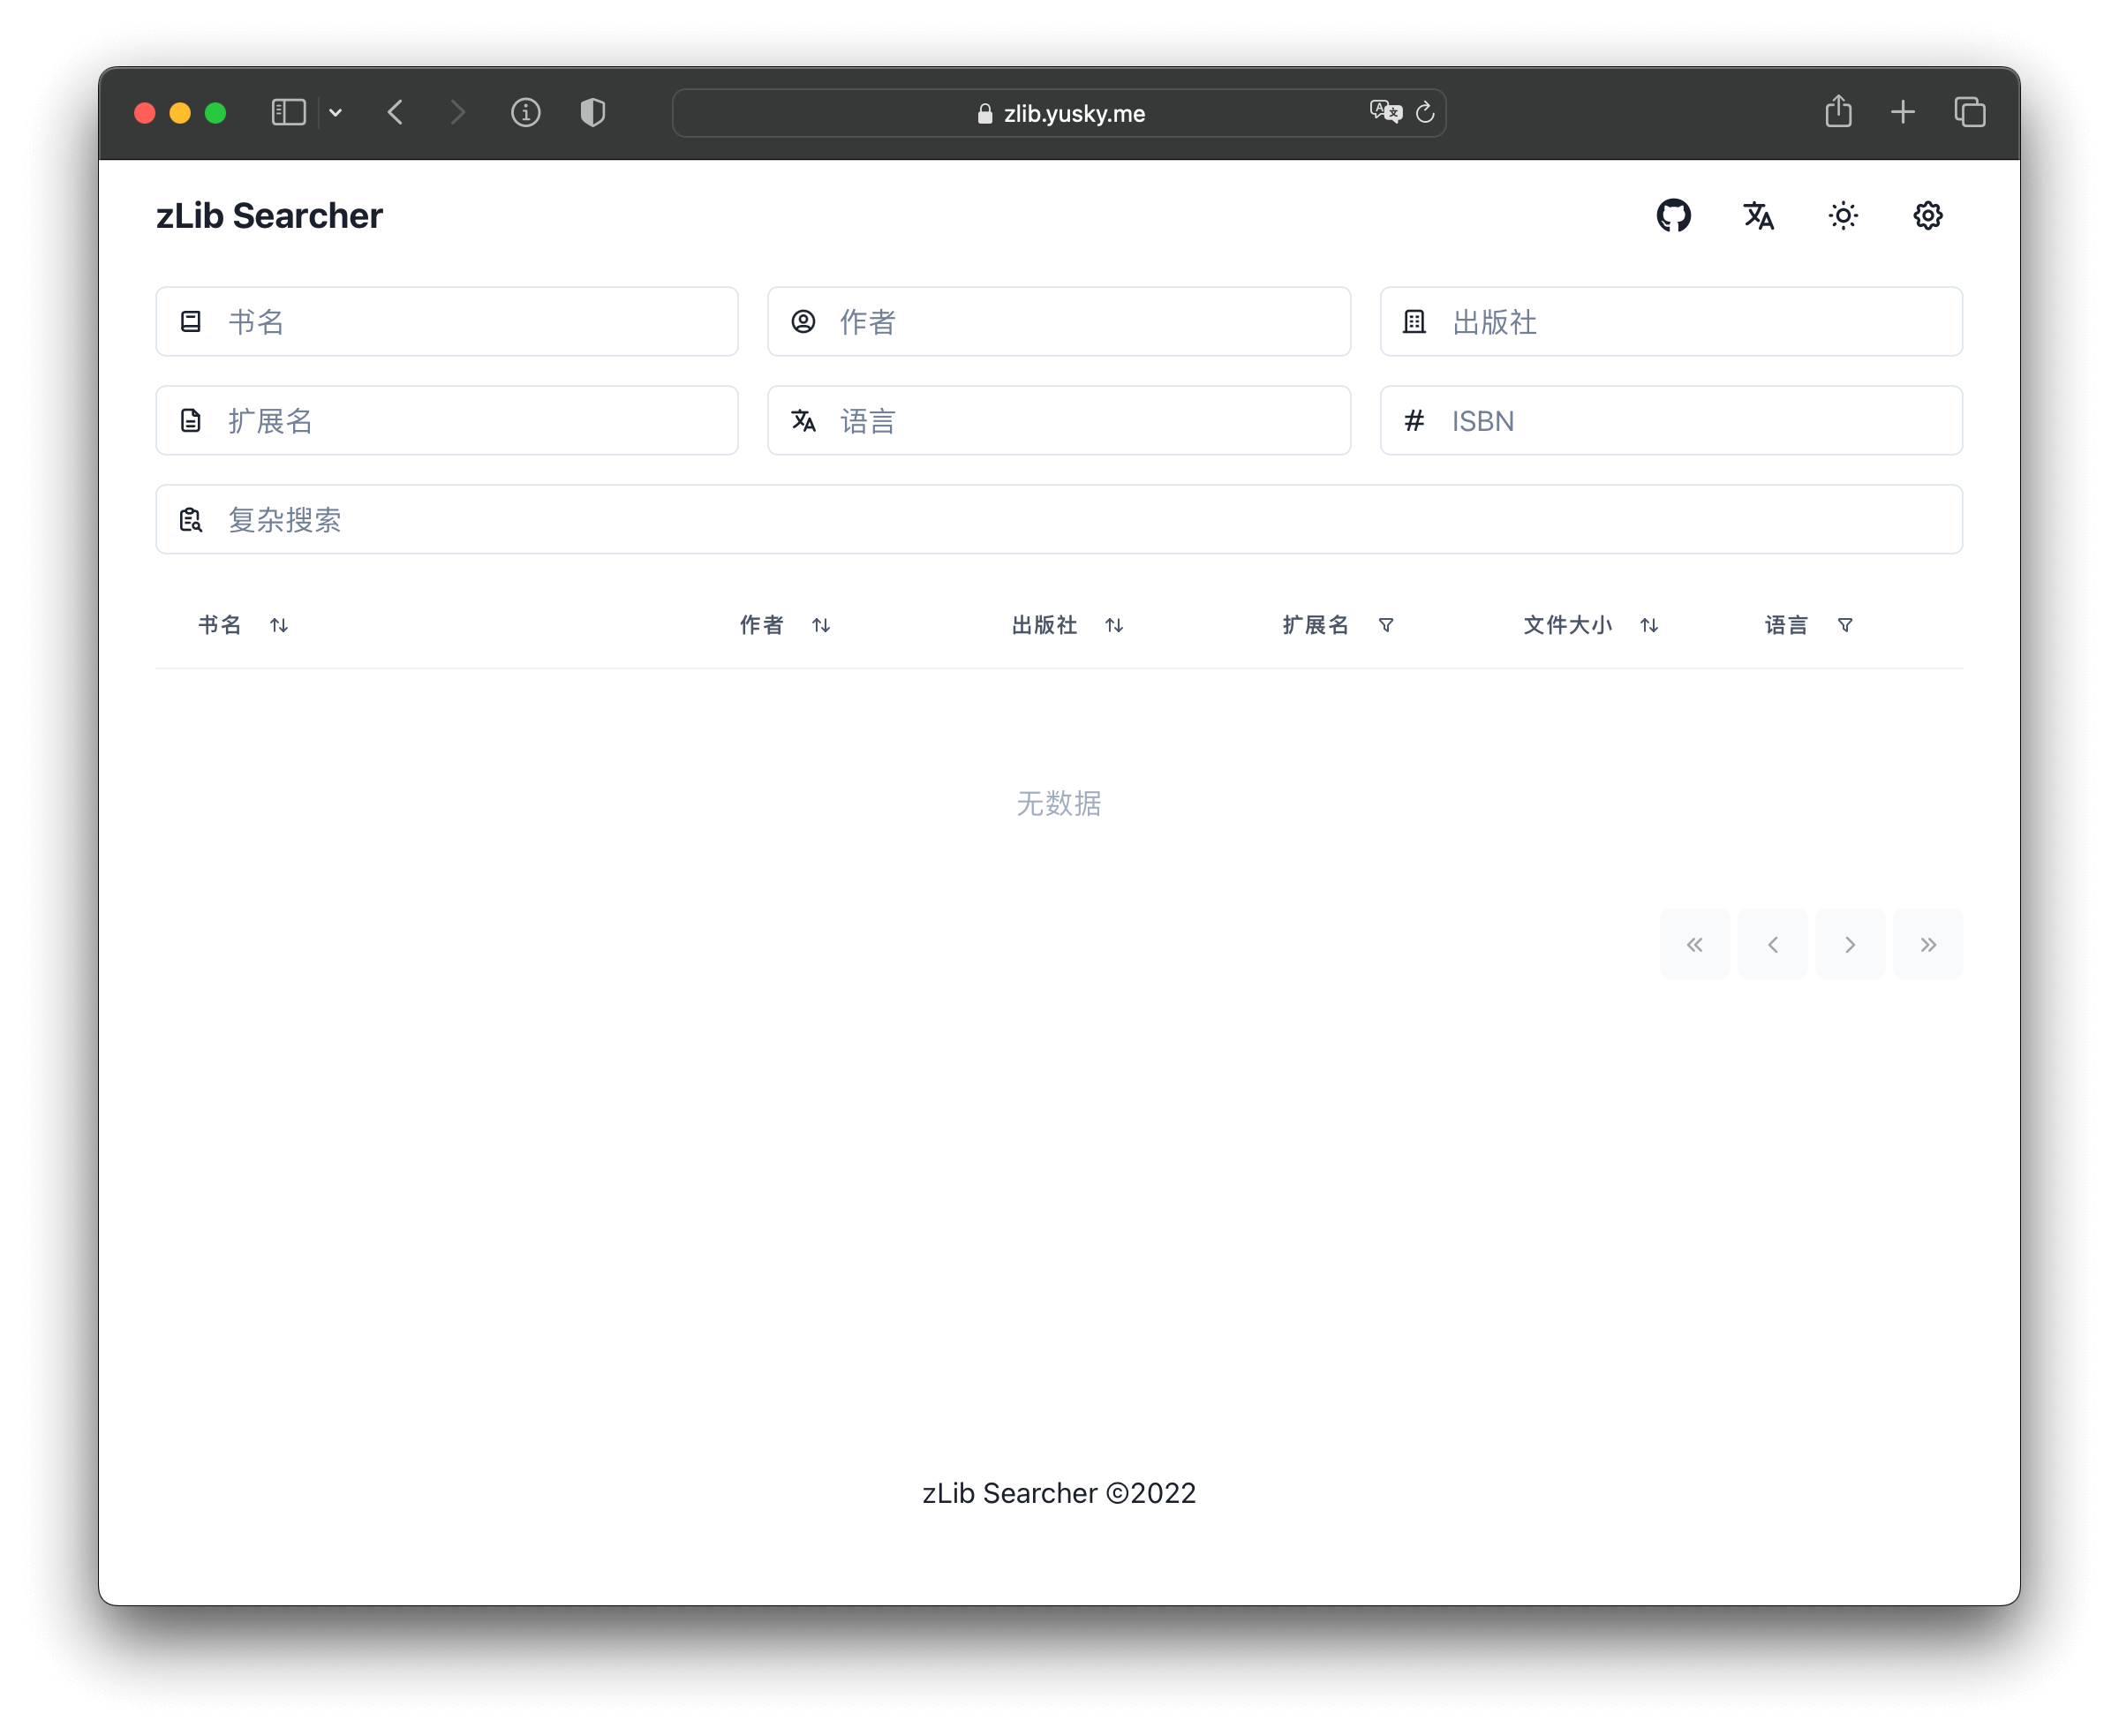
11,Enjoy,现在访问https://zlib.yusky.me 即可访问。自此教程结束。
13,使用screen后台运行
screen -S zlib

#进入网站所在目录

./zlib-searcher run

#然后关闭SSH窗口即可。如果要恢复screen,那么进入ssh执行以下命令即可

screen -x zlib

#这个命令可查看screen任务列表
screen -ls
有什么问题欢迎讨论。







评论(0)